
At the start of Lockdown I read a ‘letter from Italy’ that was doing the rounds on social media. It basically said that they were a few weeks ahead of us and to expect a burst of enthusiasm – new books, skills, excercise… and then we would hit a wall and feel completely exhausted. True to form I did lots of sewing, knitting, botanical drawing, lino printing, leaf printing – and then came to a standstill. Nothing was enthusing me and I was feeling very down.
I’d seen Cyanotypes on Instagram and twitter and always thought I’d love to have a go. I’d been put off in the past because I thought it would be a steep learning curve in using the chemicals and getting anything like a decent print. Inspired by images on twitter by @ggcimages and @JoAnnunaki I decided I’d got time to play and nothing to lose.
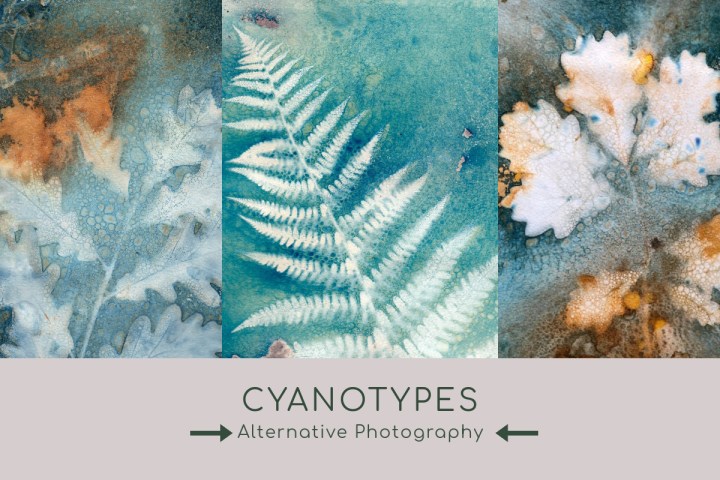
The definition of Cyanotype is below.
Cyanotype is a photographic printing process that produces a cyan-blue print. Engineers used the process well into the 20th century as a simple and low-cost process to produce copies of drawings, referred to as blueprints. The process uses two chemicals: ferric ammonium citrate and potassium ferricyanide.
The first thing I did was hit google and watched several you tube videos then I just decided to experiment.
At this point I need to be clear that I’m no expert – I’m just a beginner and sharing my findings with you.
Resources you need
- The chemicals – turns out the people at Jacquard have made life very easy and produced a kit which is basically two bottles – one of each chemical you need in powder form and all you have to do is fill them to the to with tap water, shake and leave for 24 hours
Handprinted.co.uk are a great printing suppliers and you can find them here

Obviously you can get them from lots of different suppliers too.
If you want to have a play without preparing your own paper you can buy packs that are re treated ( these do tend to be more expensive though)
- Paper – this needs to be heavy weight such as water colour paper (you are going to be soaking it to get rid of excess chemicals later)- you can experiment on any paper though)
- A paint brush or sponge brush (if you read about experts they suggest special brushes without metal fastenings but details like that aren’t important at this stage!)
- A bowl or flat container – I used an old washing up bowl but use what ever you have.
- an old photo frame or clip frame
- Some pegs/bulldog clips
- sunlight !

Getting started
The instructions for mixing the chemicals are on the back of the bottle – equal amount of each solution and mix. Just a note – only mix a very small amount as it goes a long way and doesn’t keep once mixed
In a space where there is no natural (or UV) light – I use a table in my garage – its ideal.
Paint your paper with the chemical mix – don’t put too much on or it runs! You can paint to the edge of the paper or leave a border its totally up to you.
The paper takes about 20 minutes to dry – I then put these upside down in a box in the garage and get them out when I need them.

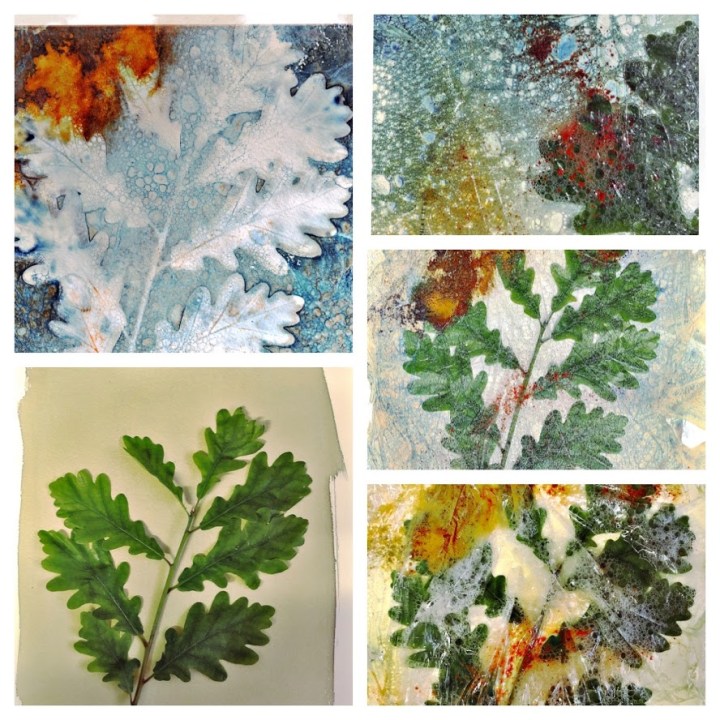
Creating your image
Go for a walk or a wander around your garden and collect some leaves or whatever you find. leaves such as oak, horse chestnut, wisteria all work well as a starting point.
WORK IN YOUR DARK PLACE – don’t expose your paper to light at this point.
Place your paper on the wooden backing of your photo frame (minus the outer frame)
You can tape a couple of the corners if you want
You can now lay your leaves out on your paper -go minimalist or throw it all on its up to you.
You now have 2 main choices :
DRY Cyanotype
Place the glass over your design and hold in place with pegs/clips
Place outside in the sunlight – 5 minutes to a few hours – again just play – different results with differing exposure times. You can see the paper turning colour in the light.


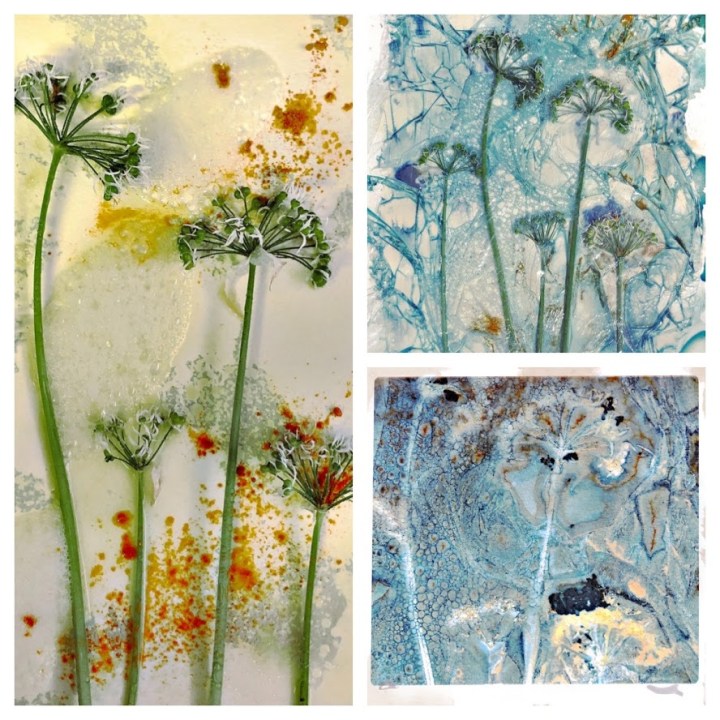
Wet Cyanotype
Oh how I love this! You never know what you are going to get!
Create your design as above, then add any of the following or any mixture of these.
Soap bubbles (put washing up liquid in a bowl and agitate until you get lots of bubbles), Spoon/Splash these over your design (remember you are going to squash it down with glass so they will spread)
Spray with water/vinegar mixture
Sprinkle with salt, paprika, tumeric …whatever you think will add colour

At this point you can cover with cling film and squish (technical term) it. Some people don’t do this as its single use plastic but you can buy compostable cling film (or omit this step)

It’s the mixture of above which creates the magic.
Again, fasten securely under glass and put out in the sun. I would leave wet cyanotype for several hours (you can leave it over night)
Finishing off
Take your frames inside and remove the paper – some people take a photo or scan at this point as your colour will change when rinsed.
– run under water and then immerse in water until the yellowing colour is gone. (I use the same washing up bowl) Give it a shake every so often.

Lift out and hang outside or dry flat.

Have a coffee, admire your work and then try and remember what you did to get each of the different designs (I keep trying to remind myself to make notes)

Jane x

The most straight forward description I found on the internet, thank you.
Thank you, I’m so glad it was useful Jane
Yes, wonderfully straightforward. Thank you for taking the time to share your talents 🙂
Thank you
Thank you for sharing your experience in cyanotype. I especially like the addition of spices for added color. Very helpful
Thank you, I’m glad it was useful
Such lovely work. I’ve not started yet but I feel really inspired.
Thank you so much, I hope you enjoy experimenting. It’s a lovely technique
Vos cyanotypes sont magnifiques et laissent rêveur. Quel enchantement !
Merci pour ce partage. Vos explications sont claires .
Je fais des cyanotypes depuis l’été dernier. Pour certains, je les brode, juste quelques éléments avec du fils de couleurs contrastantes. Cet hiver ça ne fonctionne pas vraiment 😕, j’habite en France, en Picardie, mais le soleil arrive. Je vais essayer la technique humide, et jouer avec les couleurs.
Encore merci.
Merci beaucoup pour tes mots gentils. Je suis content que vous ayez apprécié le poste. travailler avec des cyanotypes est si relaxant, n’est-ce pas ?