

I’m loving the fact that it’s now sunny enough in the UK to start Cyanotype printing again. Having said that, it snowed this morning!!
I decided to experiment with printing on fabric. I’ve had some epic fails which have gone straight into the bin but there have been one or two successes so I thought I’d just share a few of the things I’ve discovered.
Firstly if you are new to cyanotype printing this post here will explain the basics.
Types of Fabric
Plain white or cream fabric is the easiest to begin with as you can see that you have actually covered your fabric with your chemical solution and don’t end up with failures like this.
Once the fabric was out in the sun – it was clear I hadn’t actually reached the edges with my solution

This was the result – it’s a reminder to me to check in future but hopefully I can use bits of it for patchwork

My best tip is wet your fabric first! Some people wash it – depends of your preference but I would certainly apply solution to wet fabric.
Calico doesn’t work well for me – it ends up looking ‘smudged’ and indistict.
Plain light weight cotton works best for me (I’m by no means an expert though!)
I find that you get different results applying your leaves etc to wet fabric than you do to fabric you have allowed to dry.
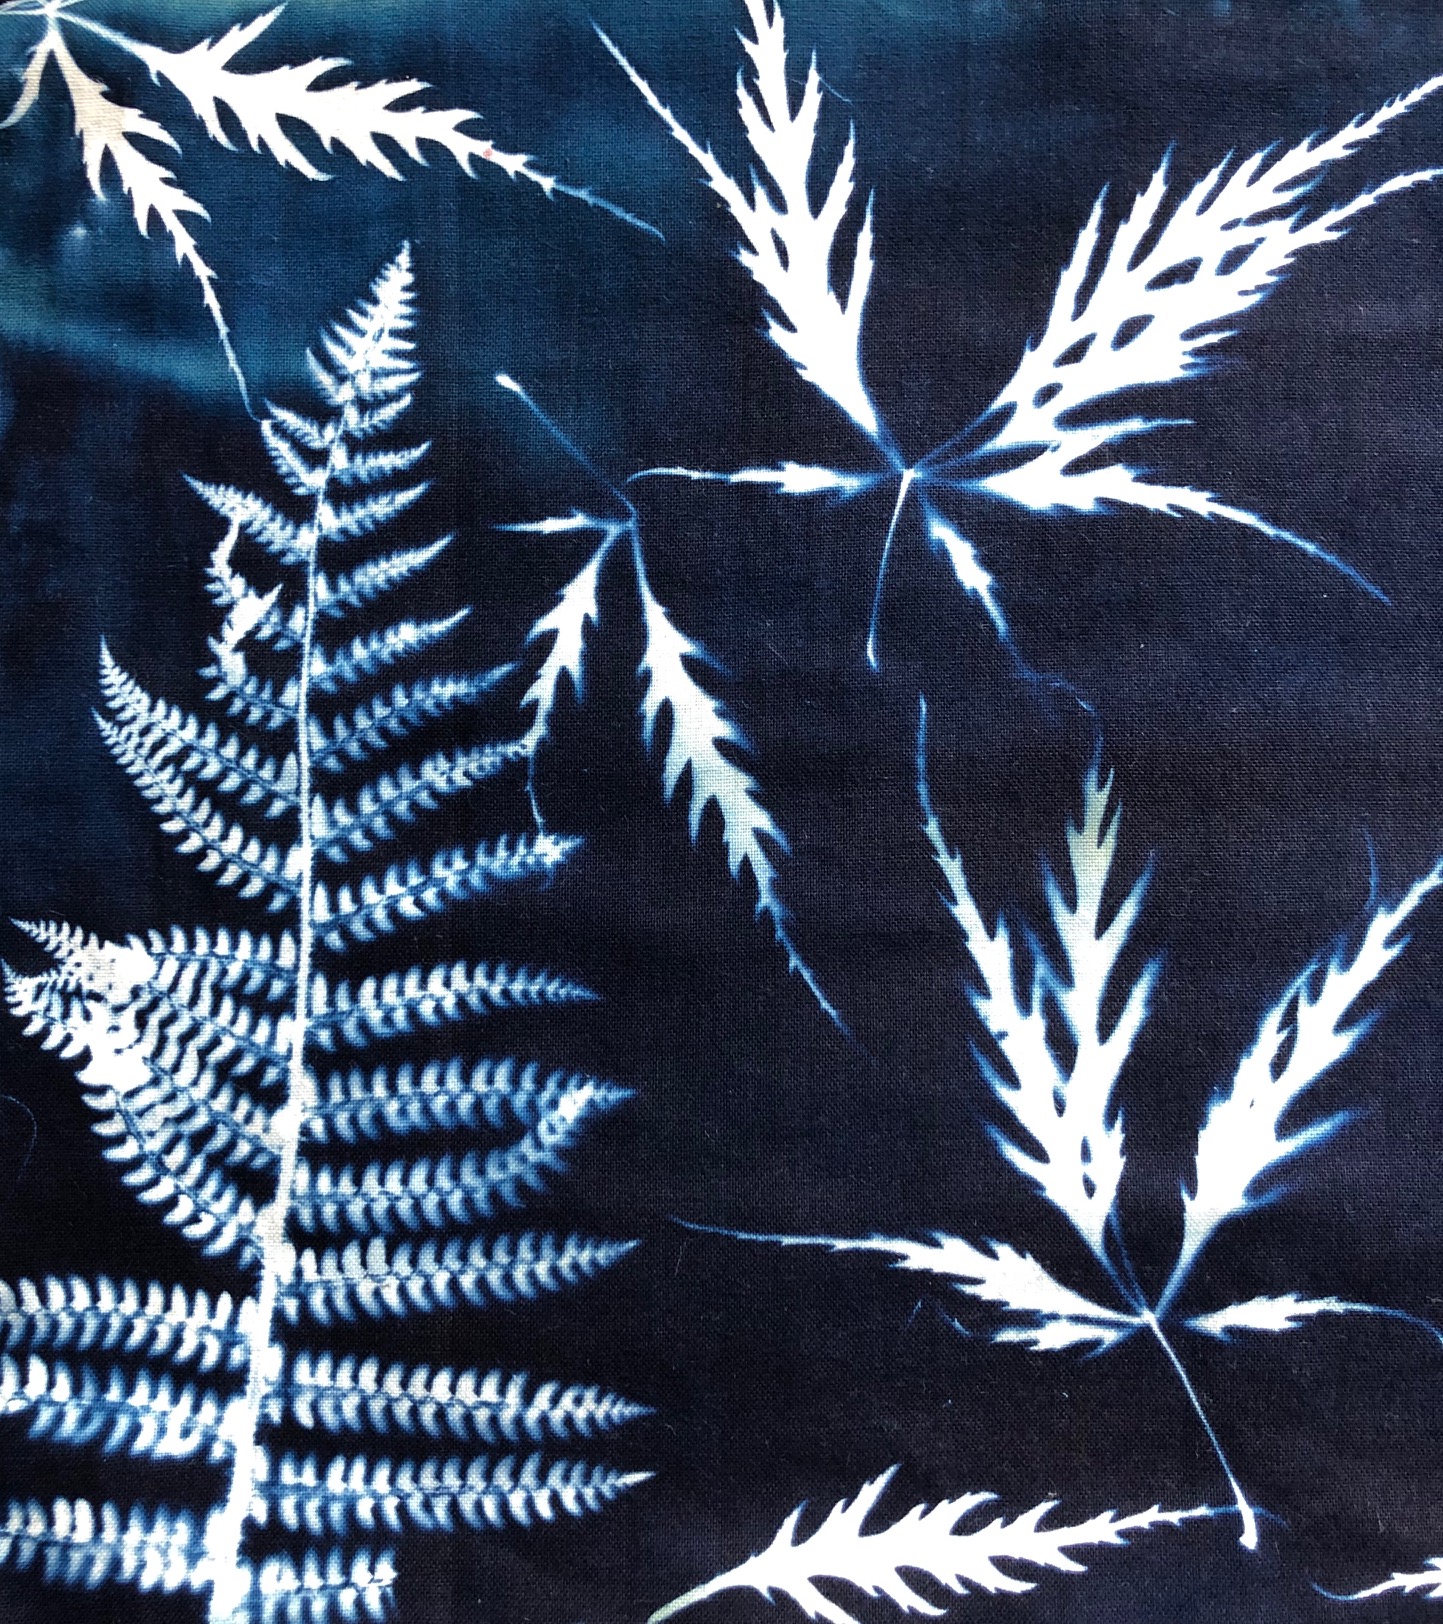

Once you feel a little more confident experiement with whatever fabric you have – just remember – whatever you cover will be where the pattern shows through.


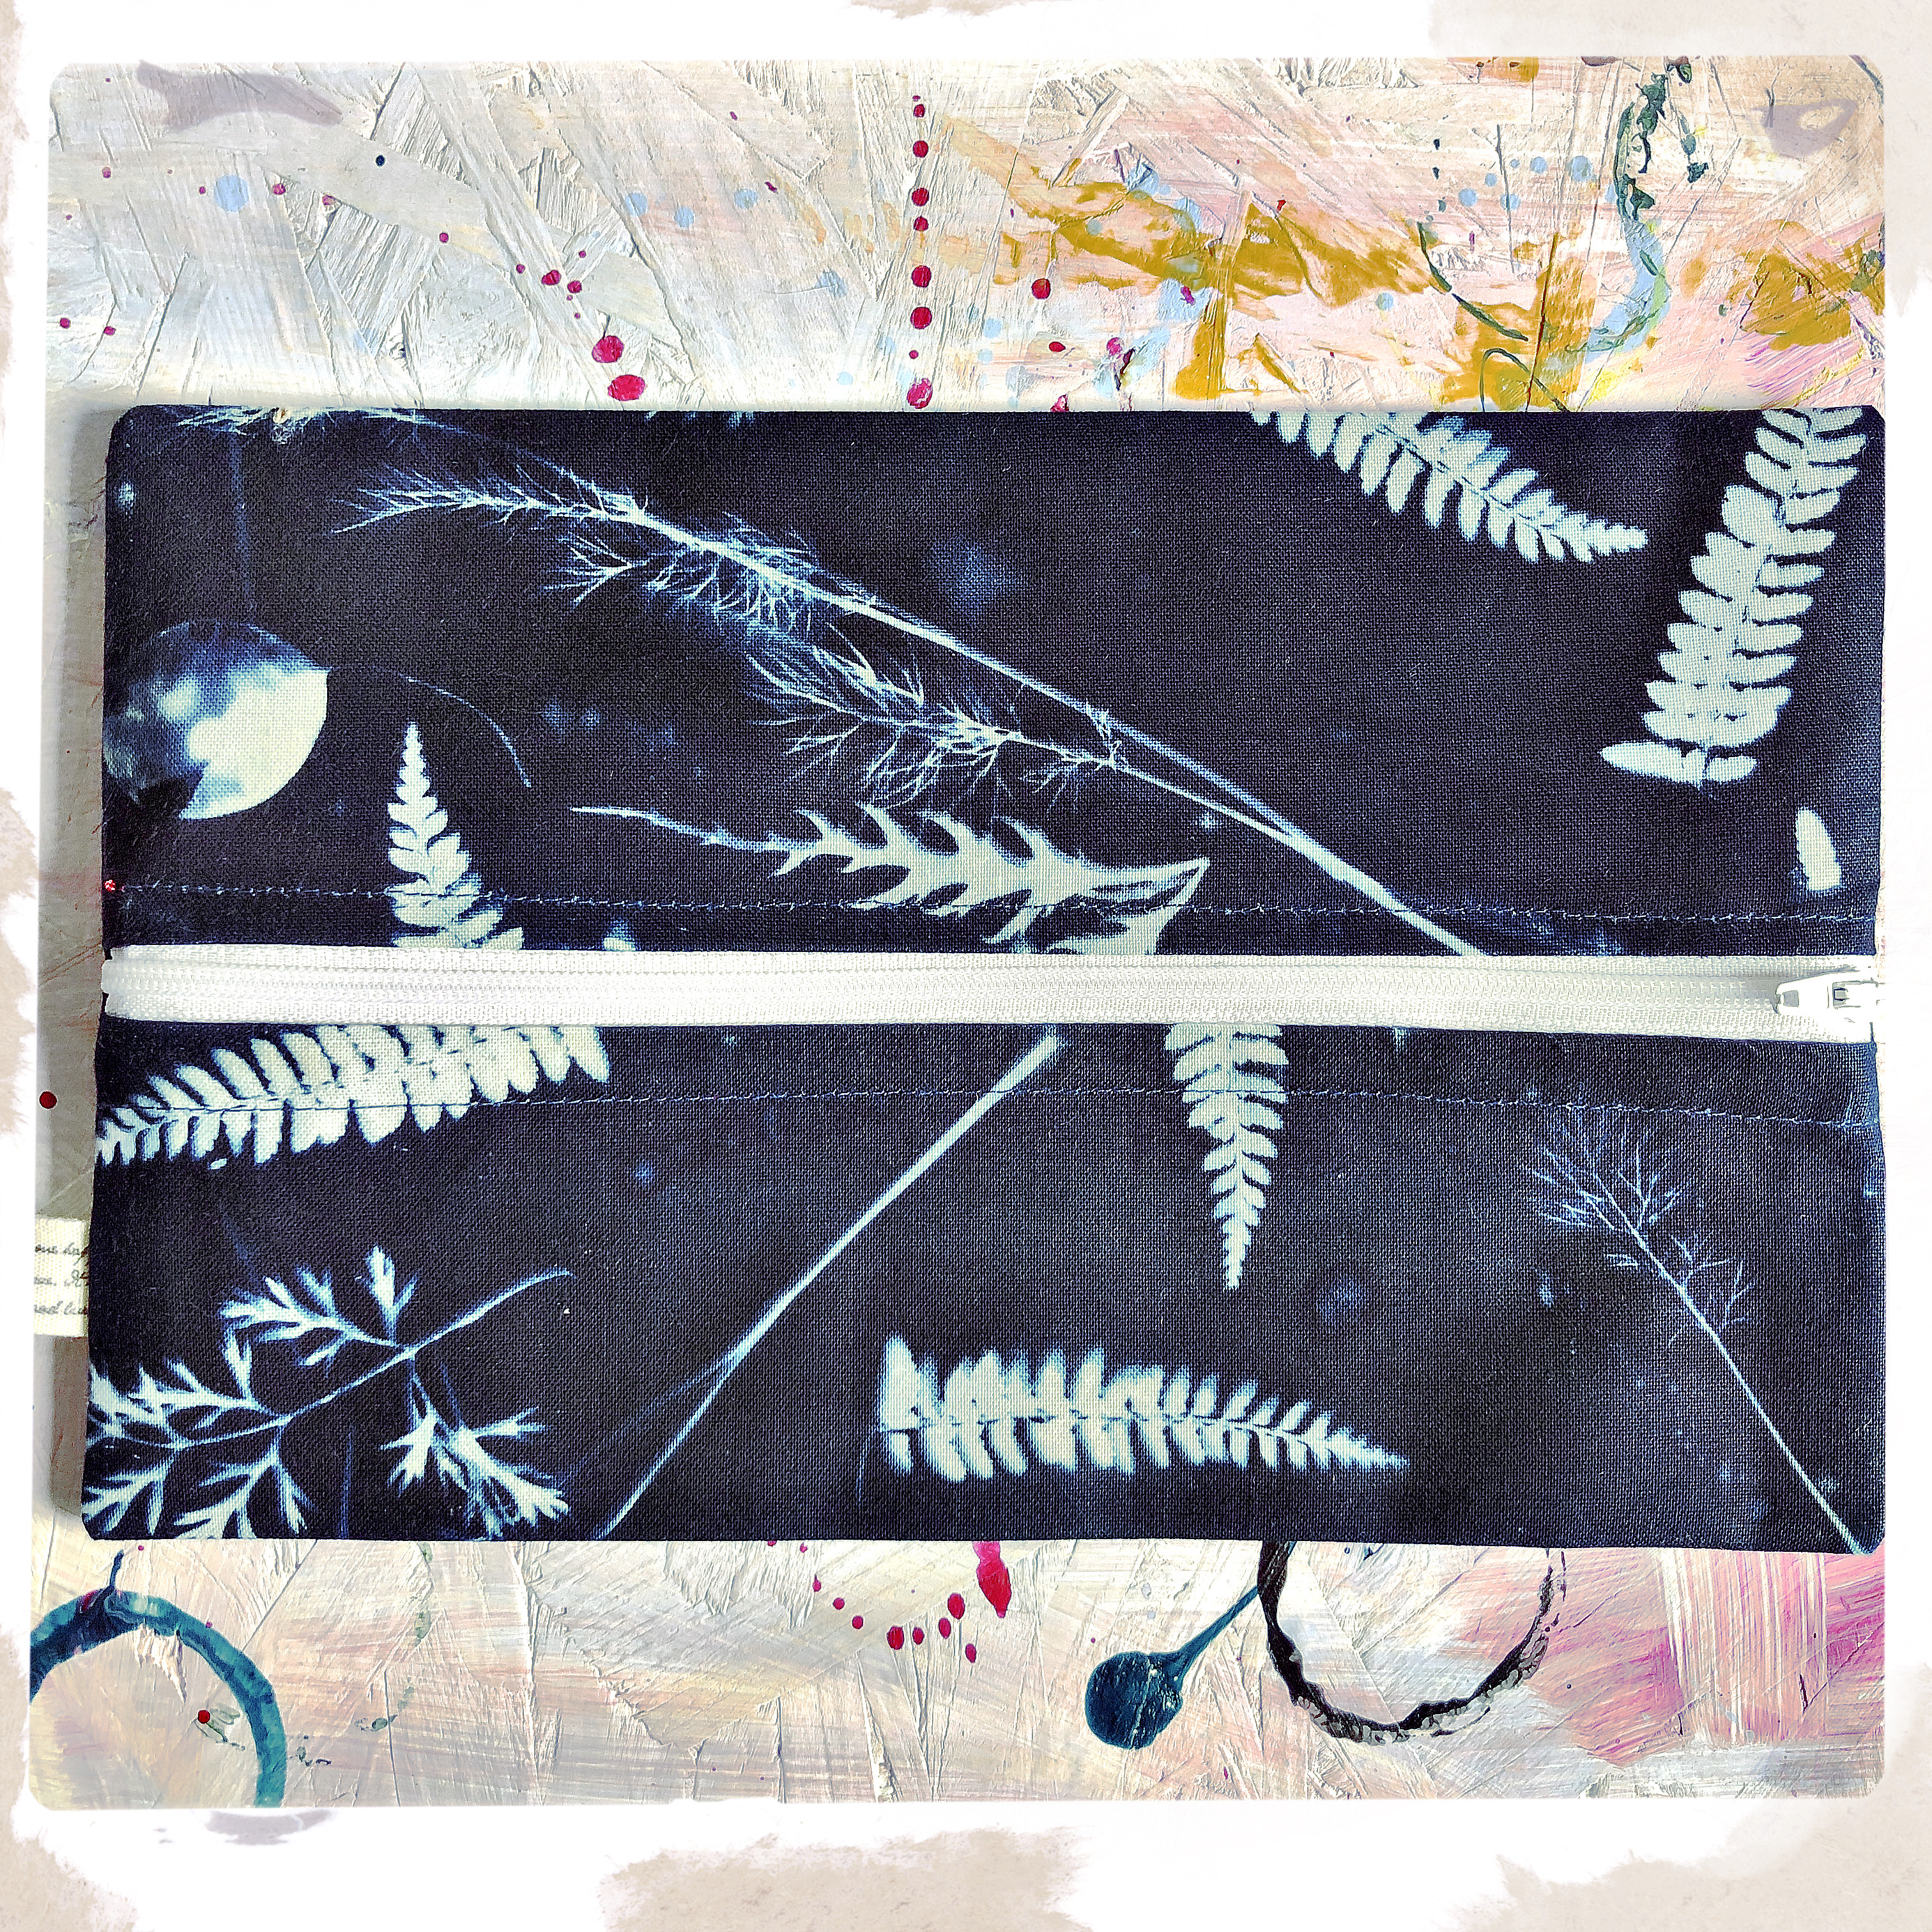
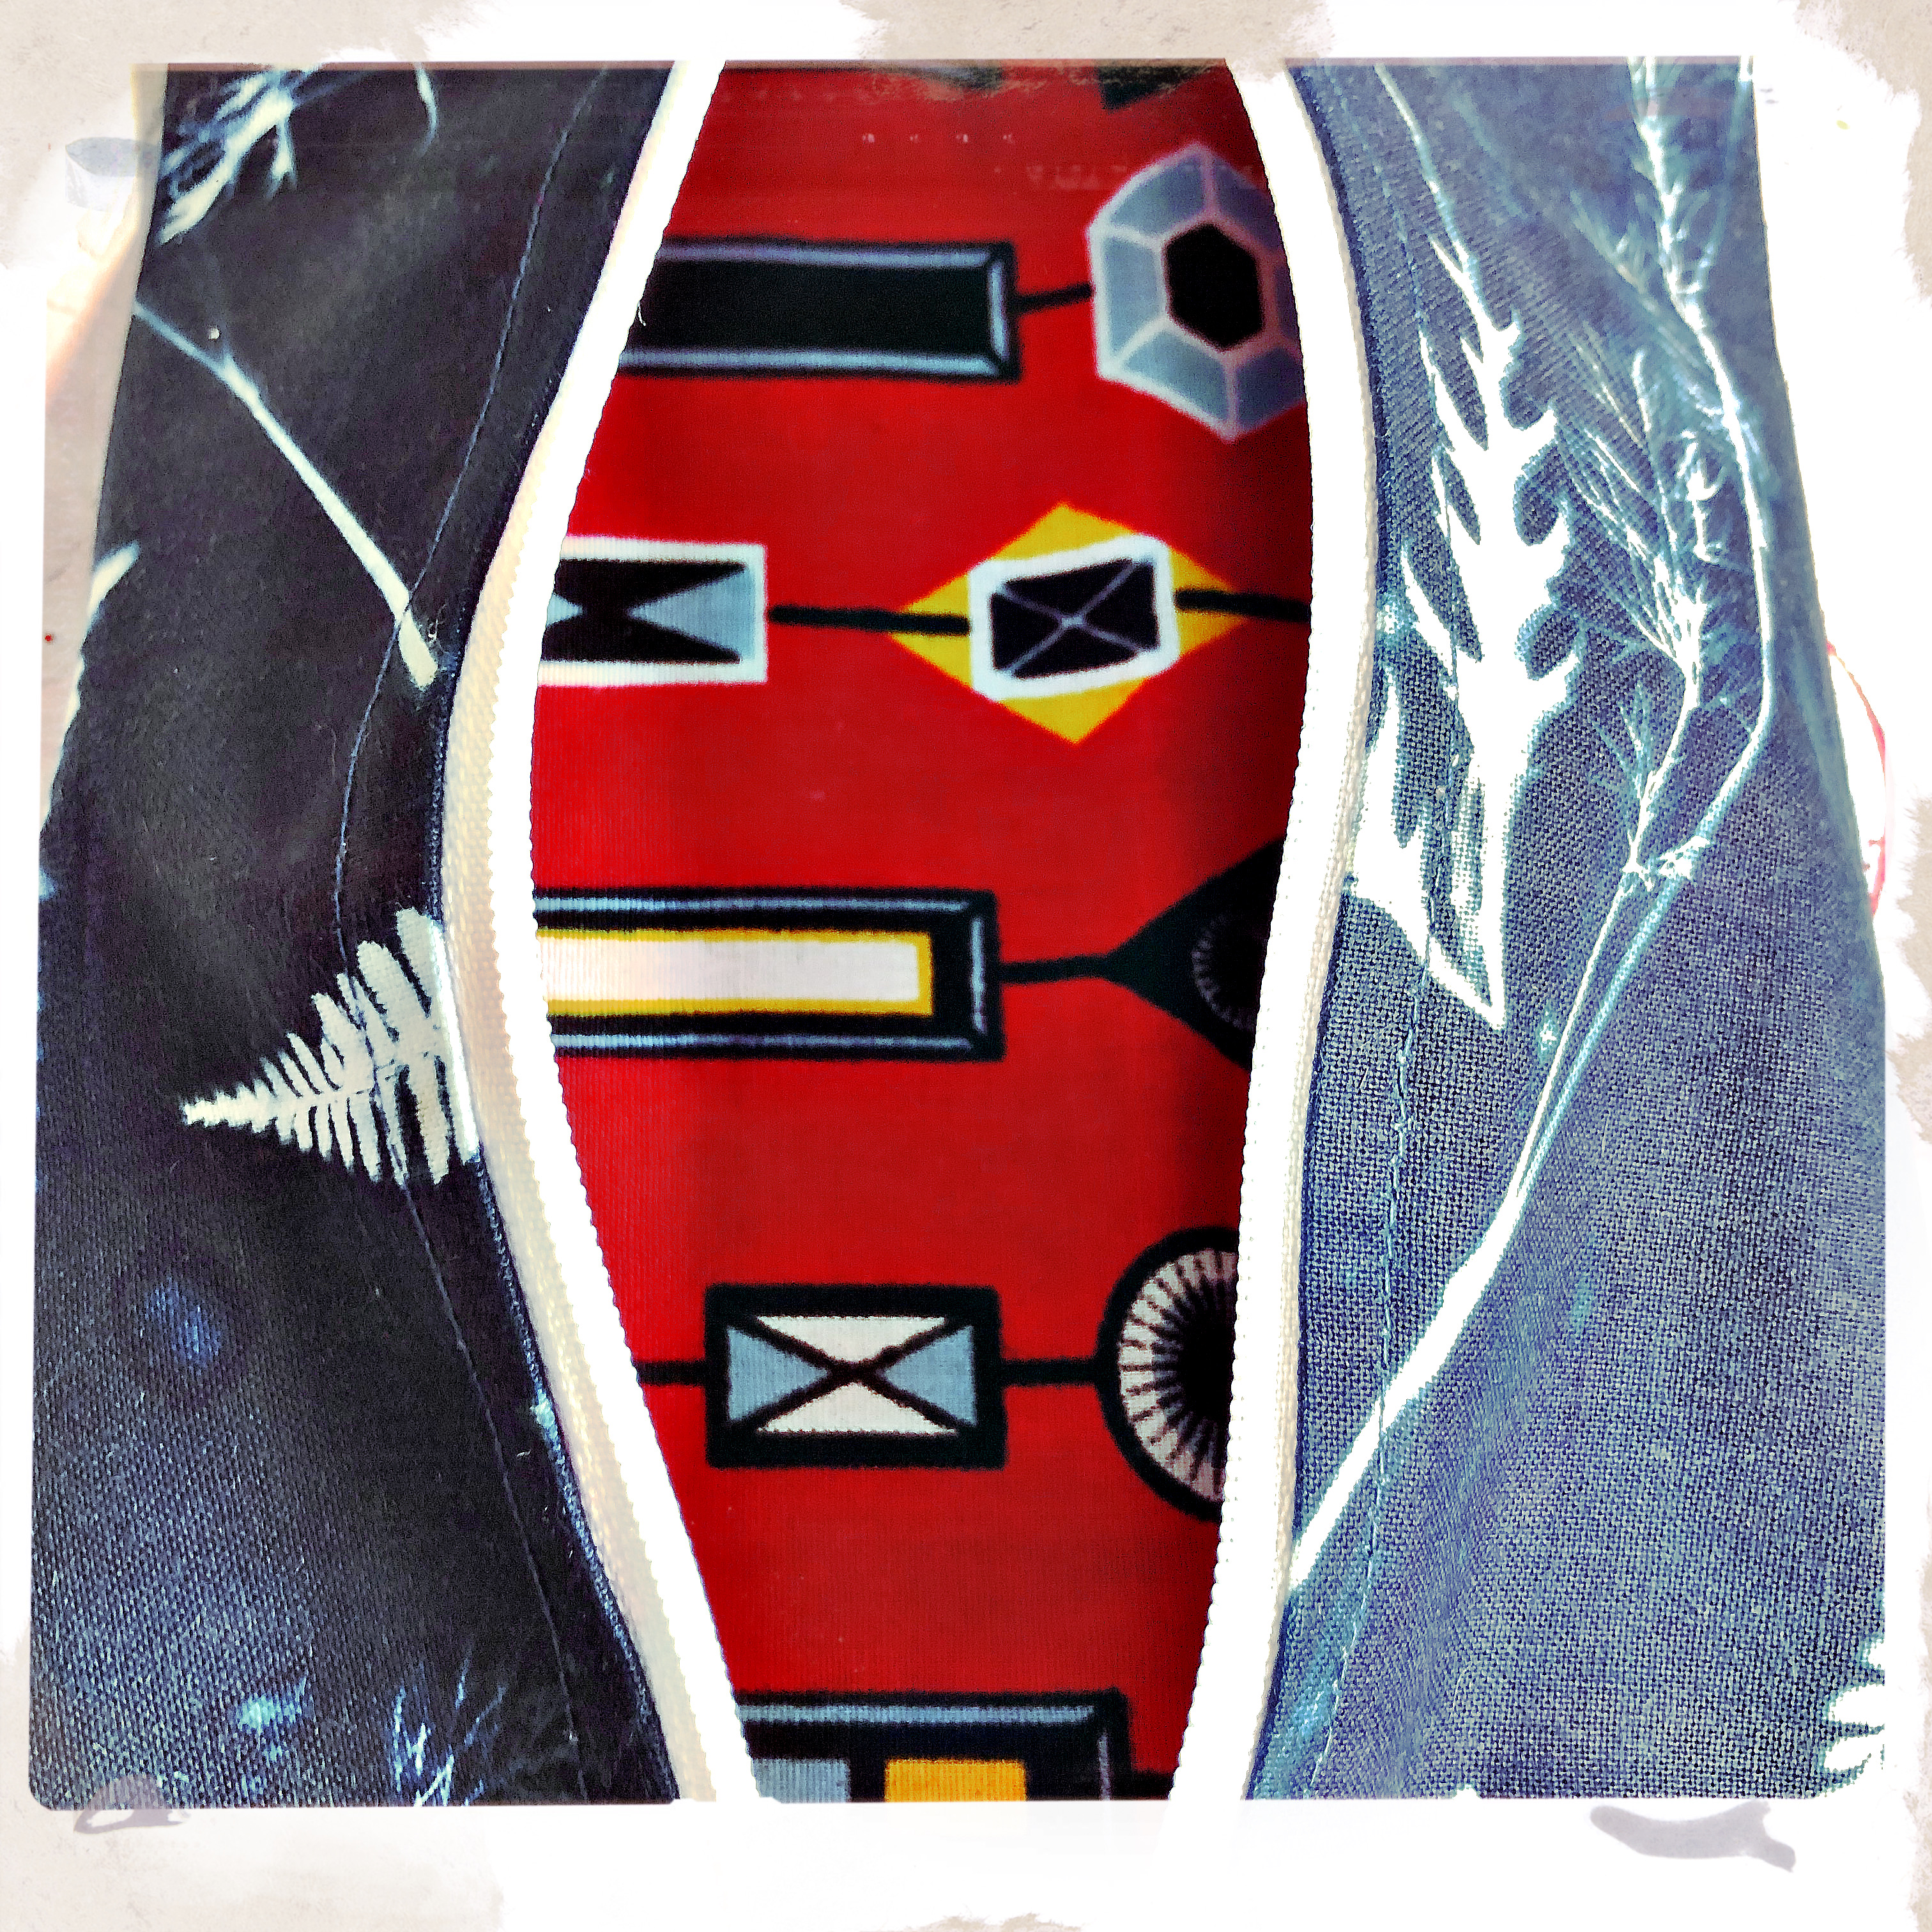
Once your fabric is dry you can iron and create using your fabric – the pencil case below was made using plain white fabric and random bits from my garden
As with any Cyanotype printing the key is just to play and enjoy it, find what works for you and experiment
J x
