

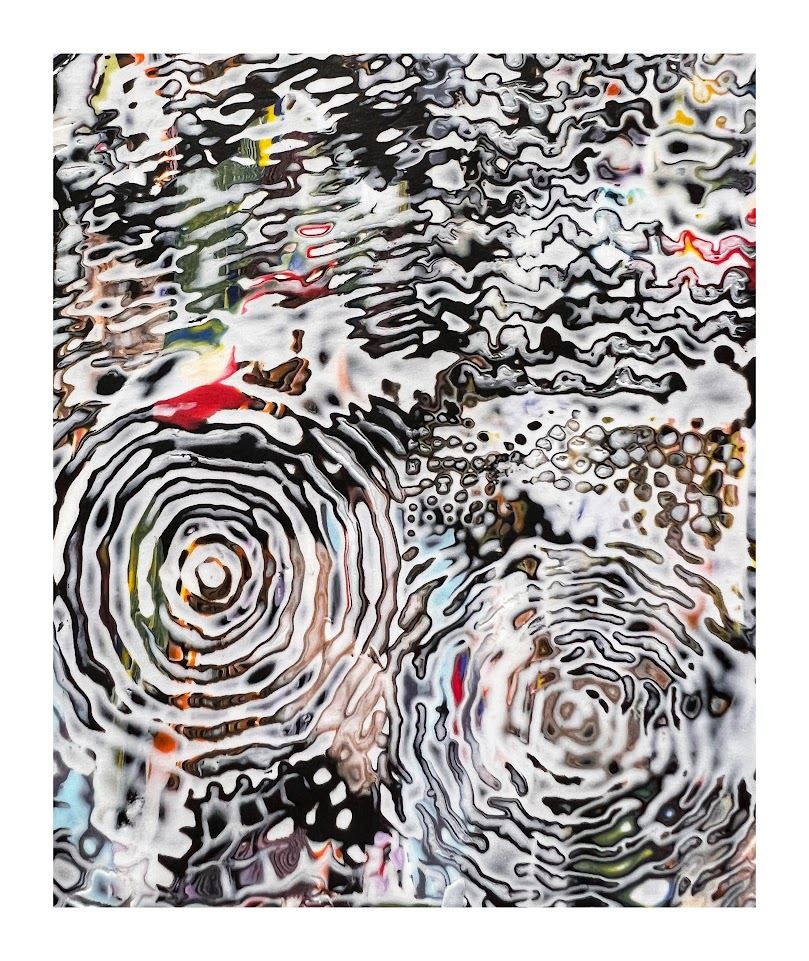
Polymer clay is a great medium to work with. There are literally hundreds of tutorials on the internet which will give you inspiration. I love the Mokume Gane method and explain a bit more about it in this earlier blog post. I’ve found using stamps and scraps gives me the freedom to experiment on small pieces of clay.
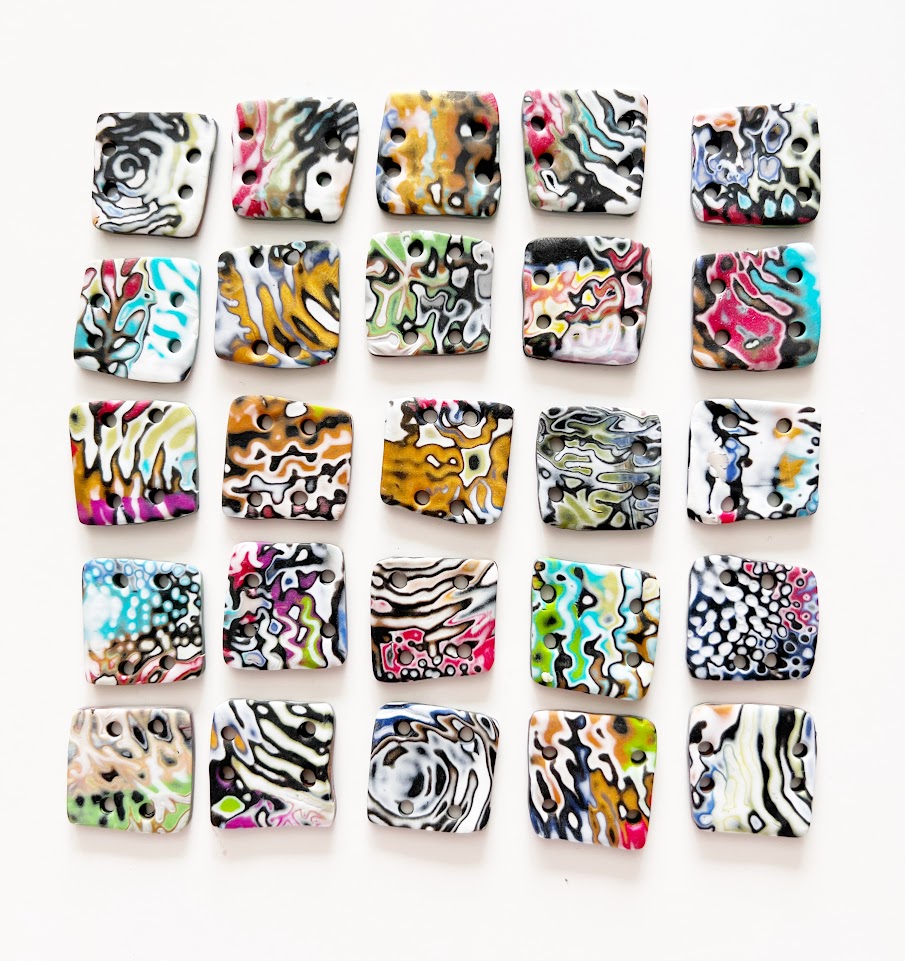
I tend to make ‘veneers’ with scraps of clay and last week I cut up a veneer to make a bracelet. These were totally random, so I placed them in lines to see what worked best together. I’m a member of a group on Facebook and the admin there, a lovely lady called Heidi McCullough, suggested I use them to make a piece of artwork. I loved the idea and began to experiment. The response was overwhelmingly positive, and many people asked for a tutorial so I’ve added some tips below.
- To create my veneers I use a slice of white clay rolled through a pasta machine on the 2nd thickest setting (no 2 on my machine)
- Using as many different colours as you want – you could use just 3 or as many as you want – it basically is just a case of experimenting and seeing what works – Roll out to 2nd thickest setting again and place small sections torn off in a random pattern

3. Roll out a slice of black polymer clay on a thinner setting – 4 or 5 on my machine. Place over the top, roll gently with an acrylic roller and cut into a neat rectangle
4. roll through PM on thickest setting. Cut in half and stack – repeat twice.
5. Decide whether you want the black or white to be your top clay and stamp with whatever you want to make your pattern with. I use a combination of sections of Melanie Muir stamps and wooden fabric painting blocks that I already had. You do not have to be neat – stamp over others, turn stamps – just play!
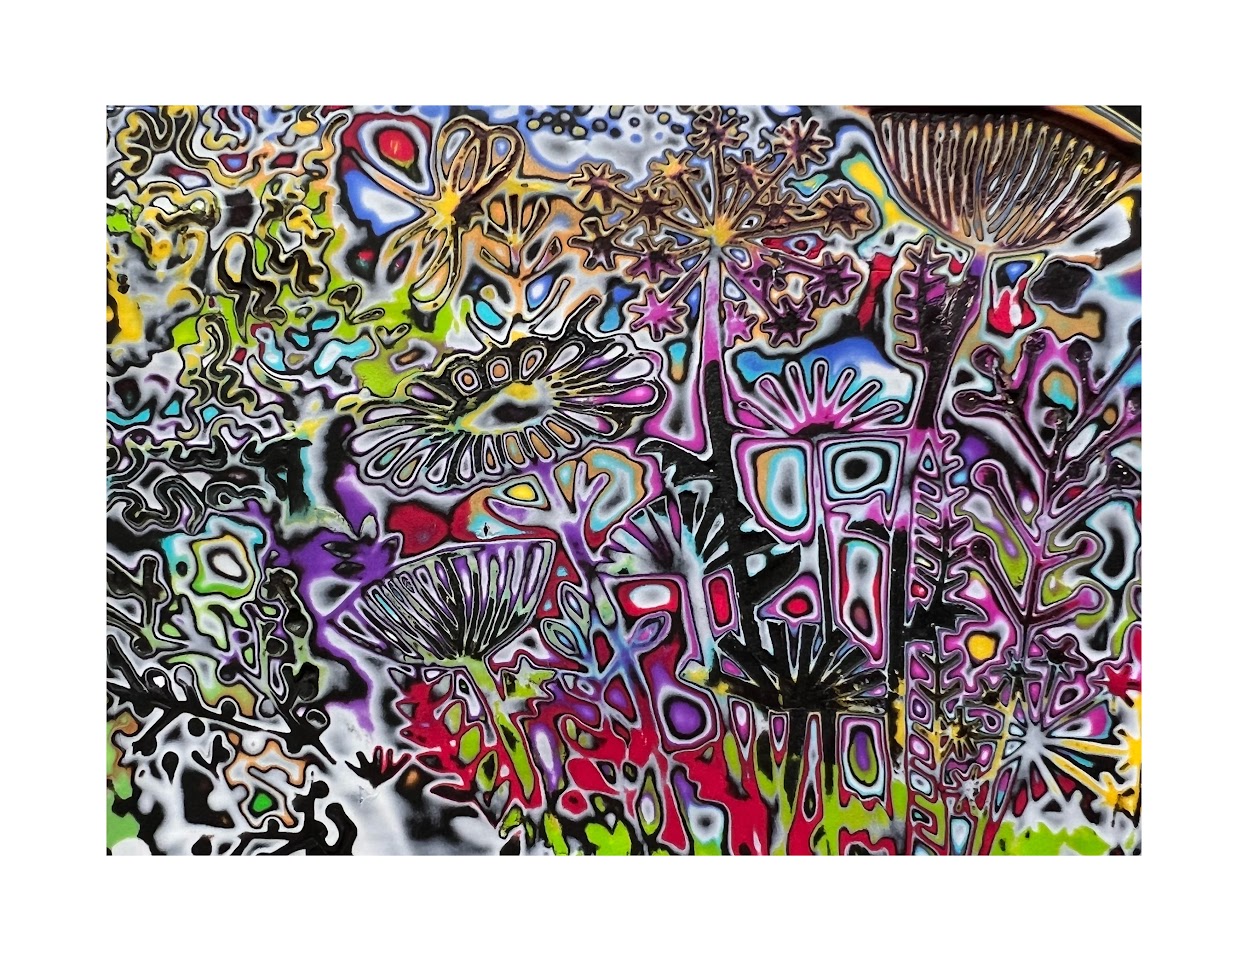

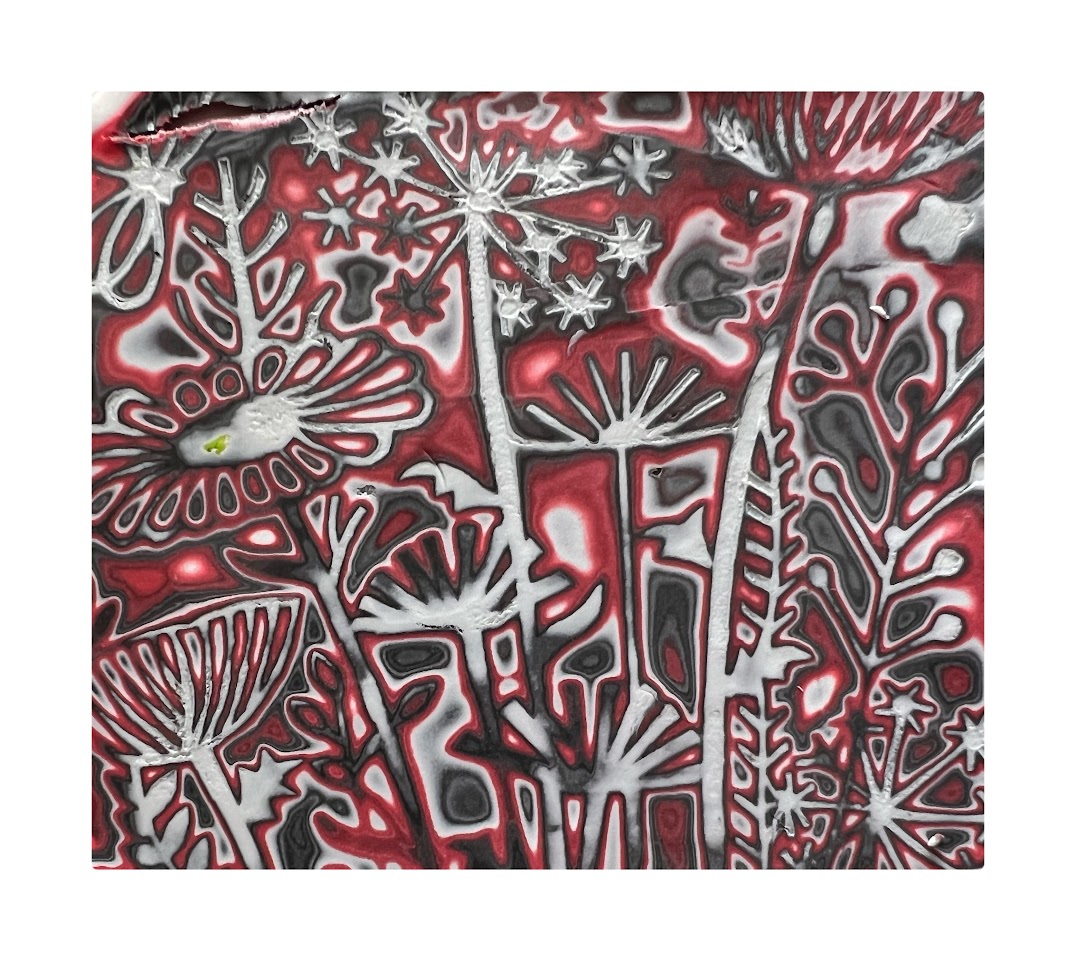


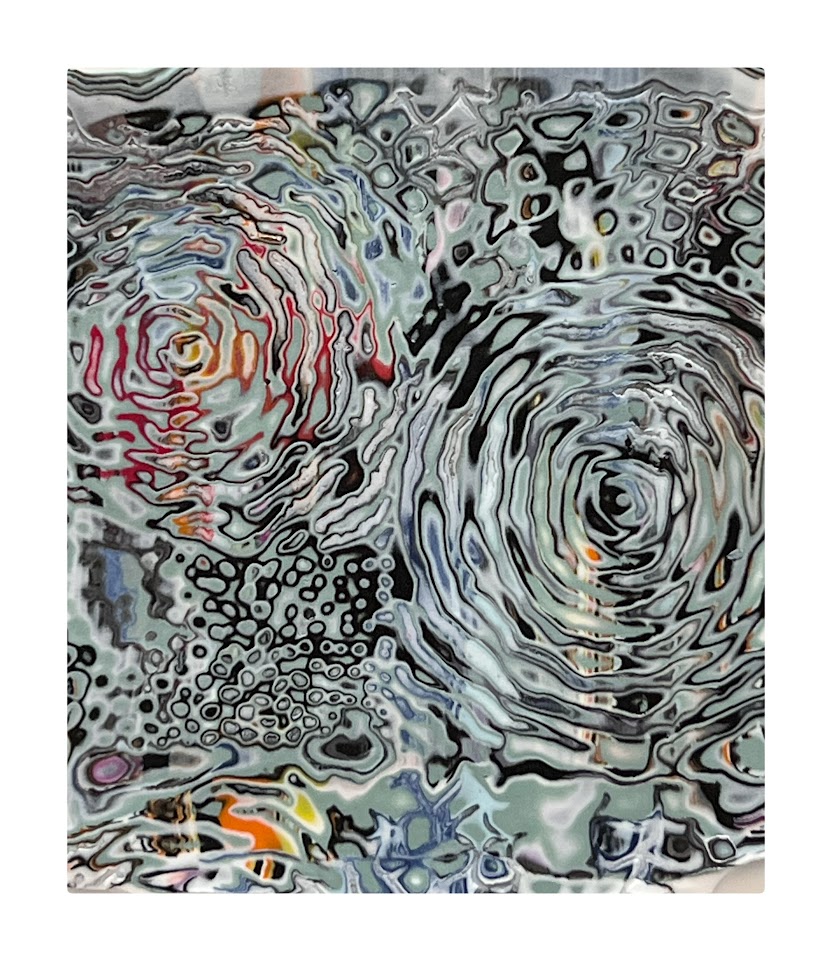
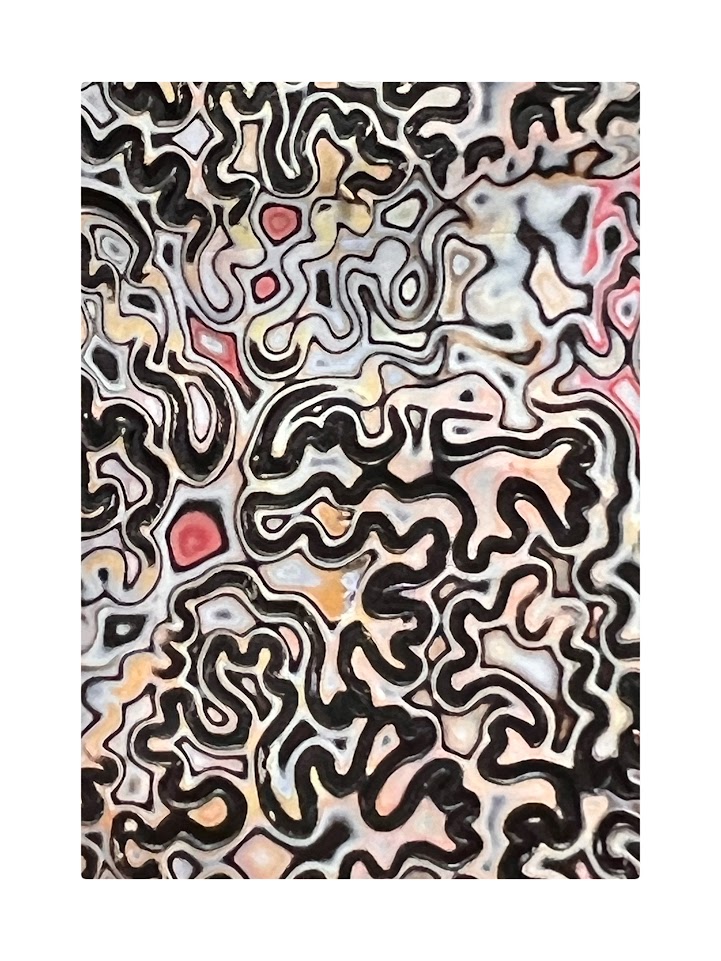
By using different colours, stamps, thicknesses – you will get a unique pattern each time.
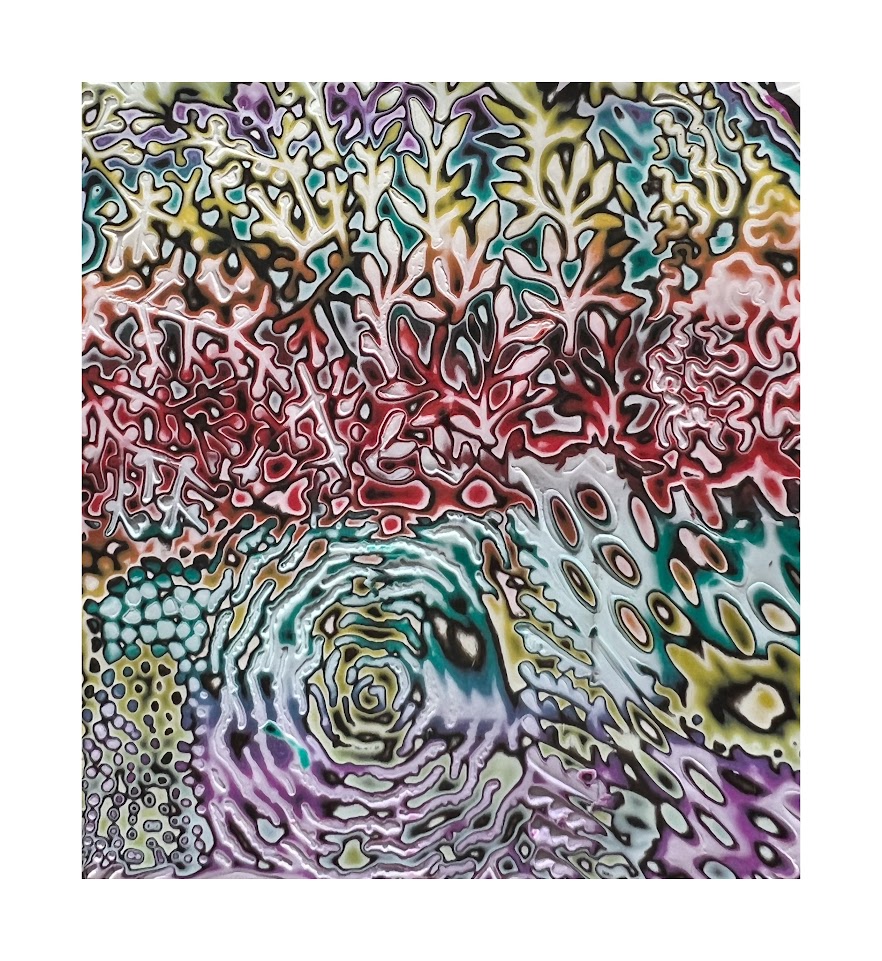
6. Using a sharp tissue blade, carefully shave off the top layer to reveal the pattern below.
7. Using your square cutter look carefully at your veneer and cut out the section of the pattern which appeals to you.


8.Bake according to the manufacturer’s instructions – different clays need different times.
9. Sand and buff (I don’t use resin but that’s just personal choice)
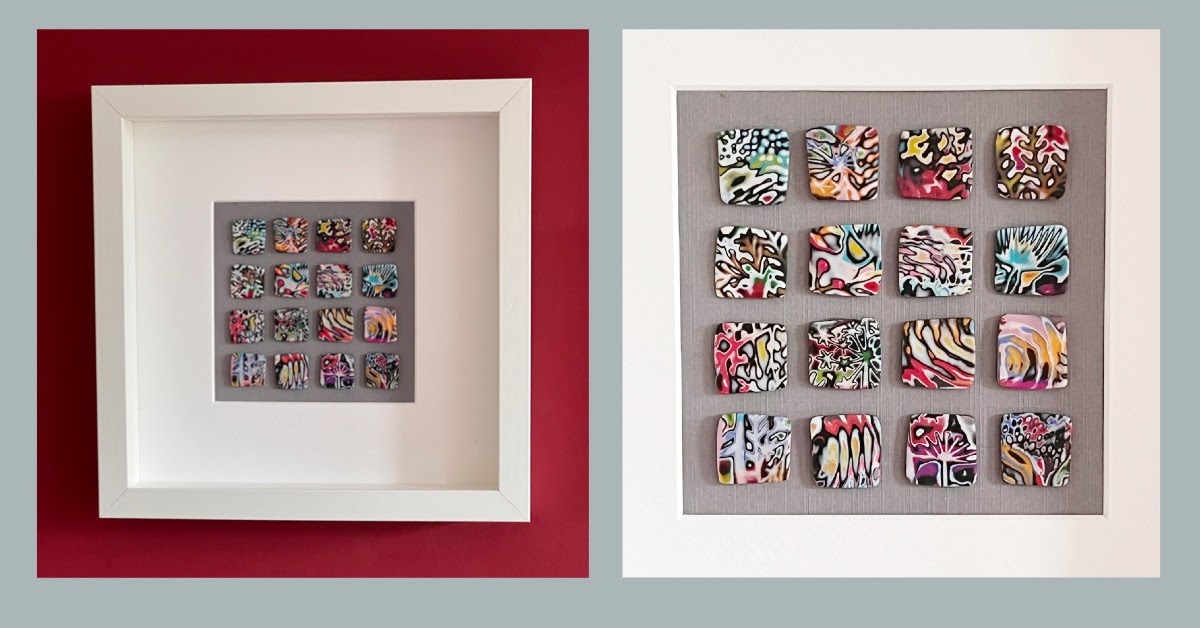
10. Lay out the tiles you have and experiment with colour and pattern combinations
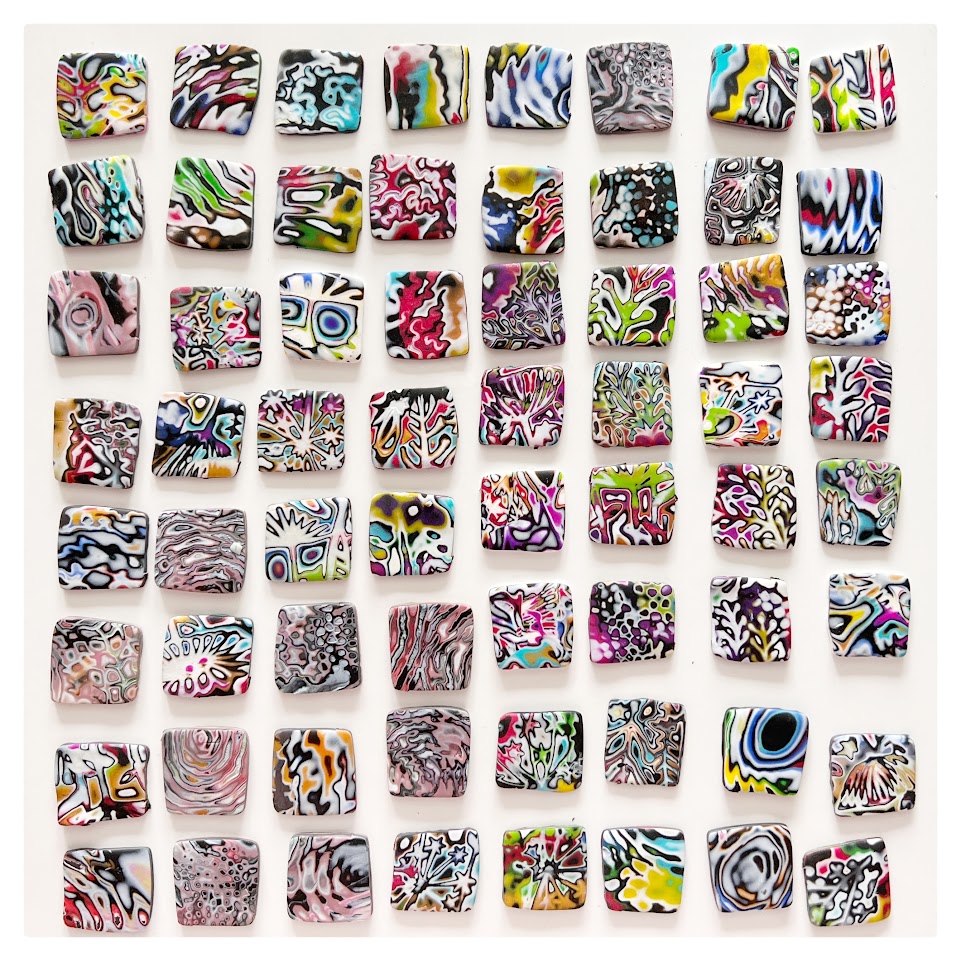
11. Choose a background – mine are on grey linen paper but you could use hessian, cork … anything really
12. Once you are happy with your placing glue firmly and leave overnight (I used ‘tacky glue so I could make small adjustments for a few minutes)
13. My personal preference is to leave the glass off but again, that’s personal preference
Visiting Ikea this morning, I discovered some mini (4×4.5 in) frames so this is my next project!

Enjoy creating J x

Thank you for sharing your process. I love seeing your Mokume work.
Thank you, that is much appreciated