
I’ve been working with Mokume Gane for a few months now and am gradually getting a feel for this technique. I’ve had lots of failures and lots of muddy brown lumps of clay but feel like there is a light at the end of the tunnel. There are two basic types of this technique- one where you make impressions in a stack of clay and then take thin slices. I can’t do this – I’ve tried, I’ve bought tutorials, I’ve used Pinterest but basically, I can’t get this to do what I want.
The other technique involves rolling your stacks of clay, cutting, stacking and re rolling then using a texture mat or stamp and shaving off the top layer to leave a pattern behind.
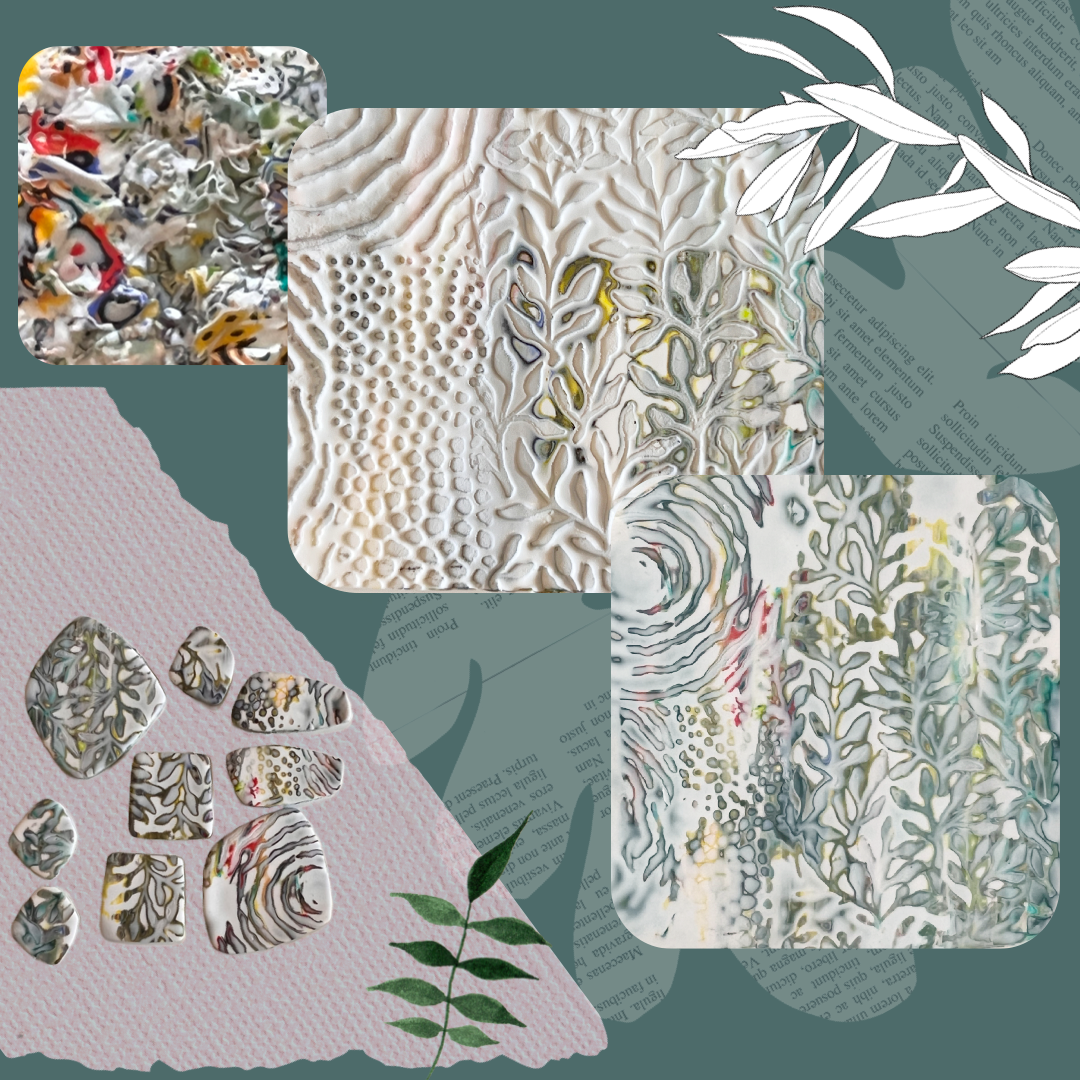
At first this technique is hard to get to grips with as there are lots of variables. The width of your layers of clay, the colours you put together, the actual shaving technique … but when it does work it’s just mesmerising. The beauty is you can’t predict what you are going to get, nor can you replicate it exactly so no two pieces are identical.
I love Melanie Muir stamps, and these are my ‘go to’ designs – I think I’ve bought most of them now! Her work is inspirational and based around natural forms which as a photographer, appeals to me.
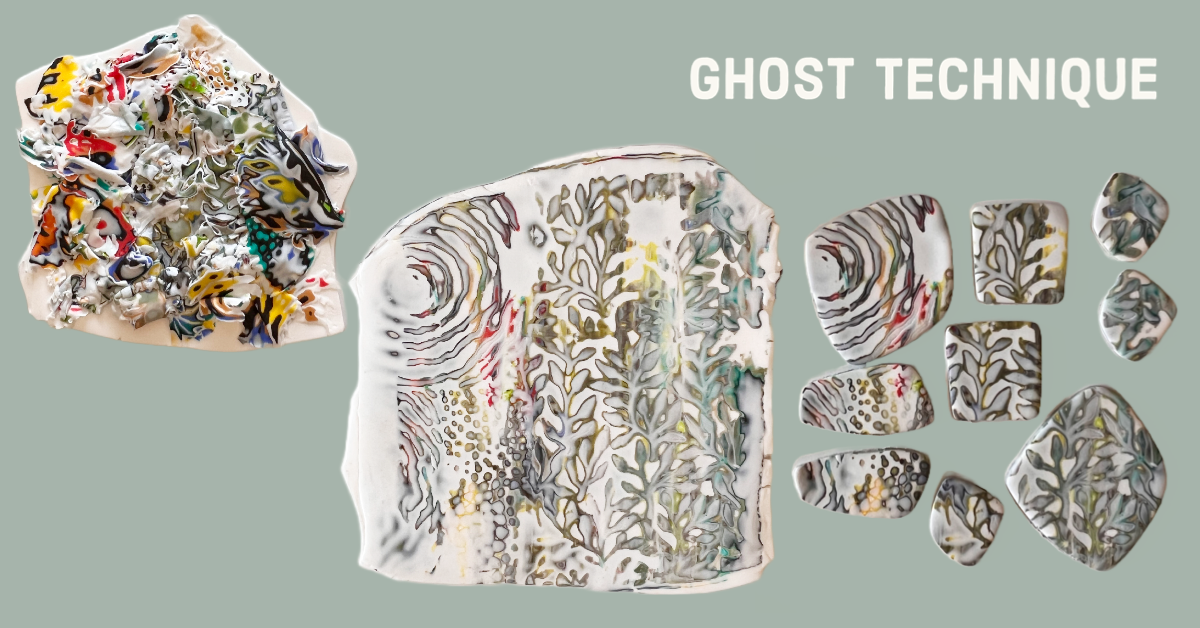
I’d had a few ‘successes’ following tutorials but I wanted a design that was more muted than the ones I’d been making. I decided to experiment and came up with what I call my ‘ghost technique’ as it gives me a muted feel and isn’t overpowered by the black.
It’s very simple:
Roll out a sheet of white polymer clay to 2nd thickest setting (number 2 on my machine)
Use the shavings from previous mokume gane pieces -I now save mine in a small dish especially for this purpose. These will be very thin and contain lots of white as well as colours and a touch of black. Spread these out over your white clay – if you haven’t enough then save it until you do!
Roll out another piece of white on the 3rd or 4th thickest setting and place on top of the layer of scraps
Roll gently with a rolling pin
Cut your clay edges straight
Roll through on thickest setting
Cut in half and then stack
Repeat twice
Spritz with a water spray
Press your chosen stamp into the clay and then gently slice away the top to reveal the pattern ( I love the leaf design ones for this as they work best for me)
Save your shavings to mix in with a future project
Place a piece of paper over your veneer and rub gently to create a smooth surface
Your veneer is now ready to use to create whatever you decide.
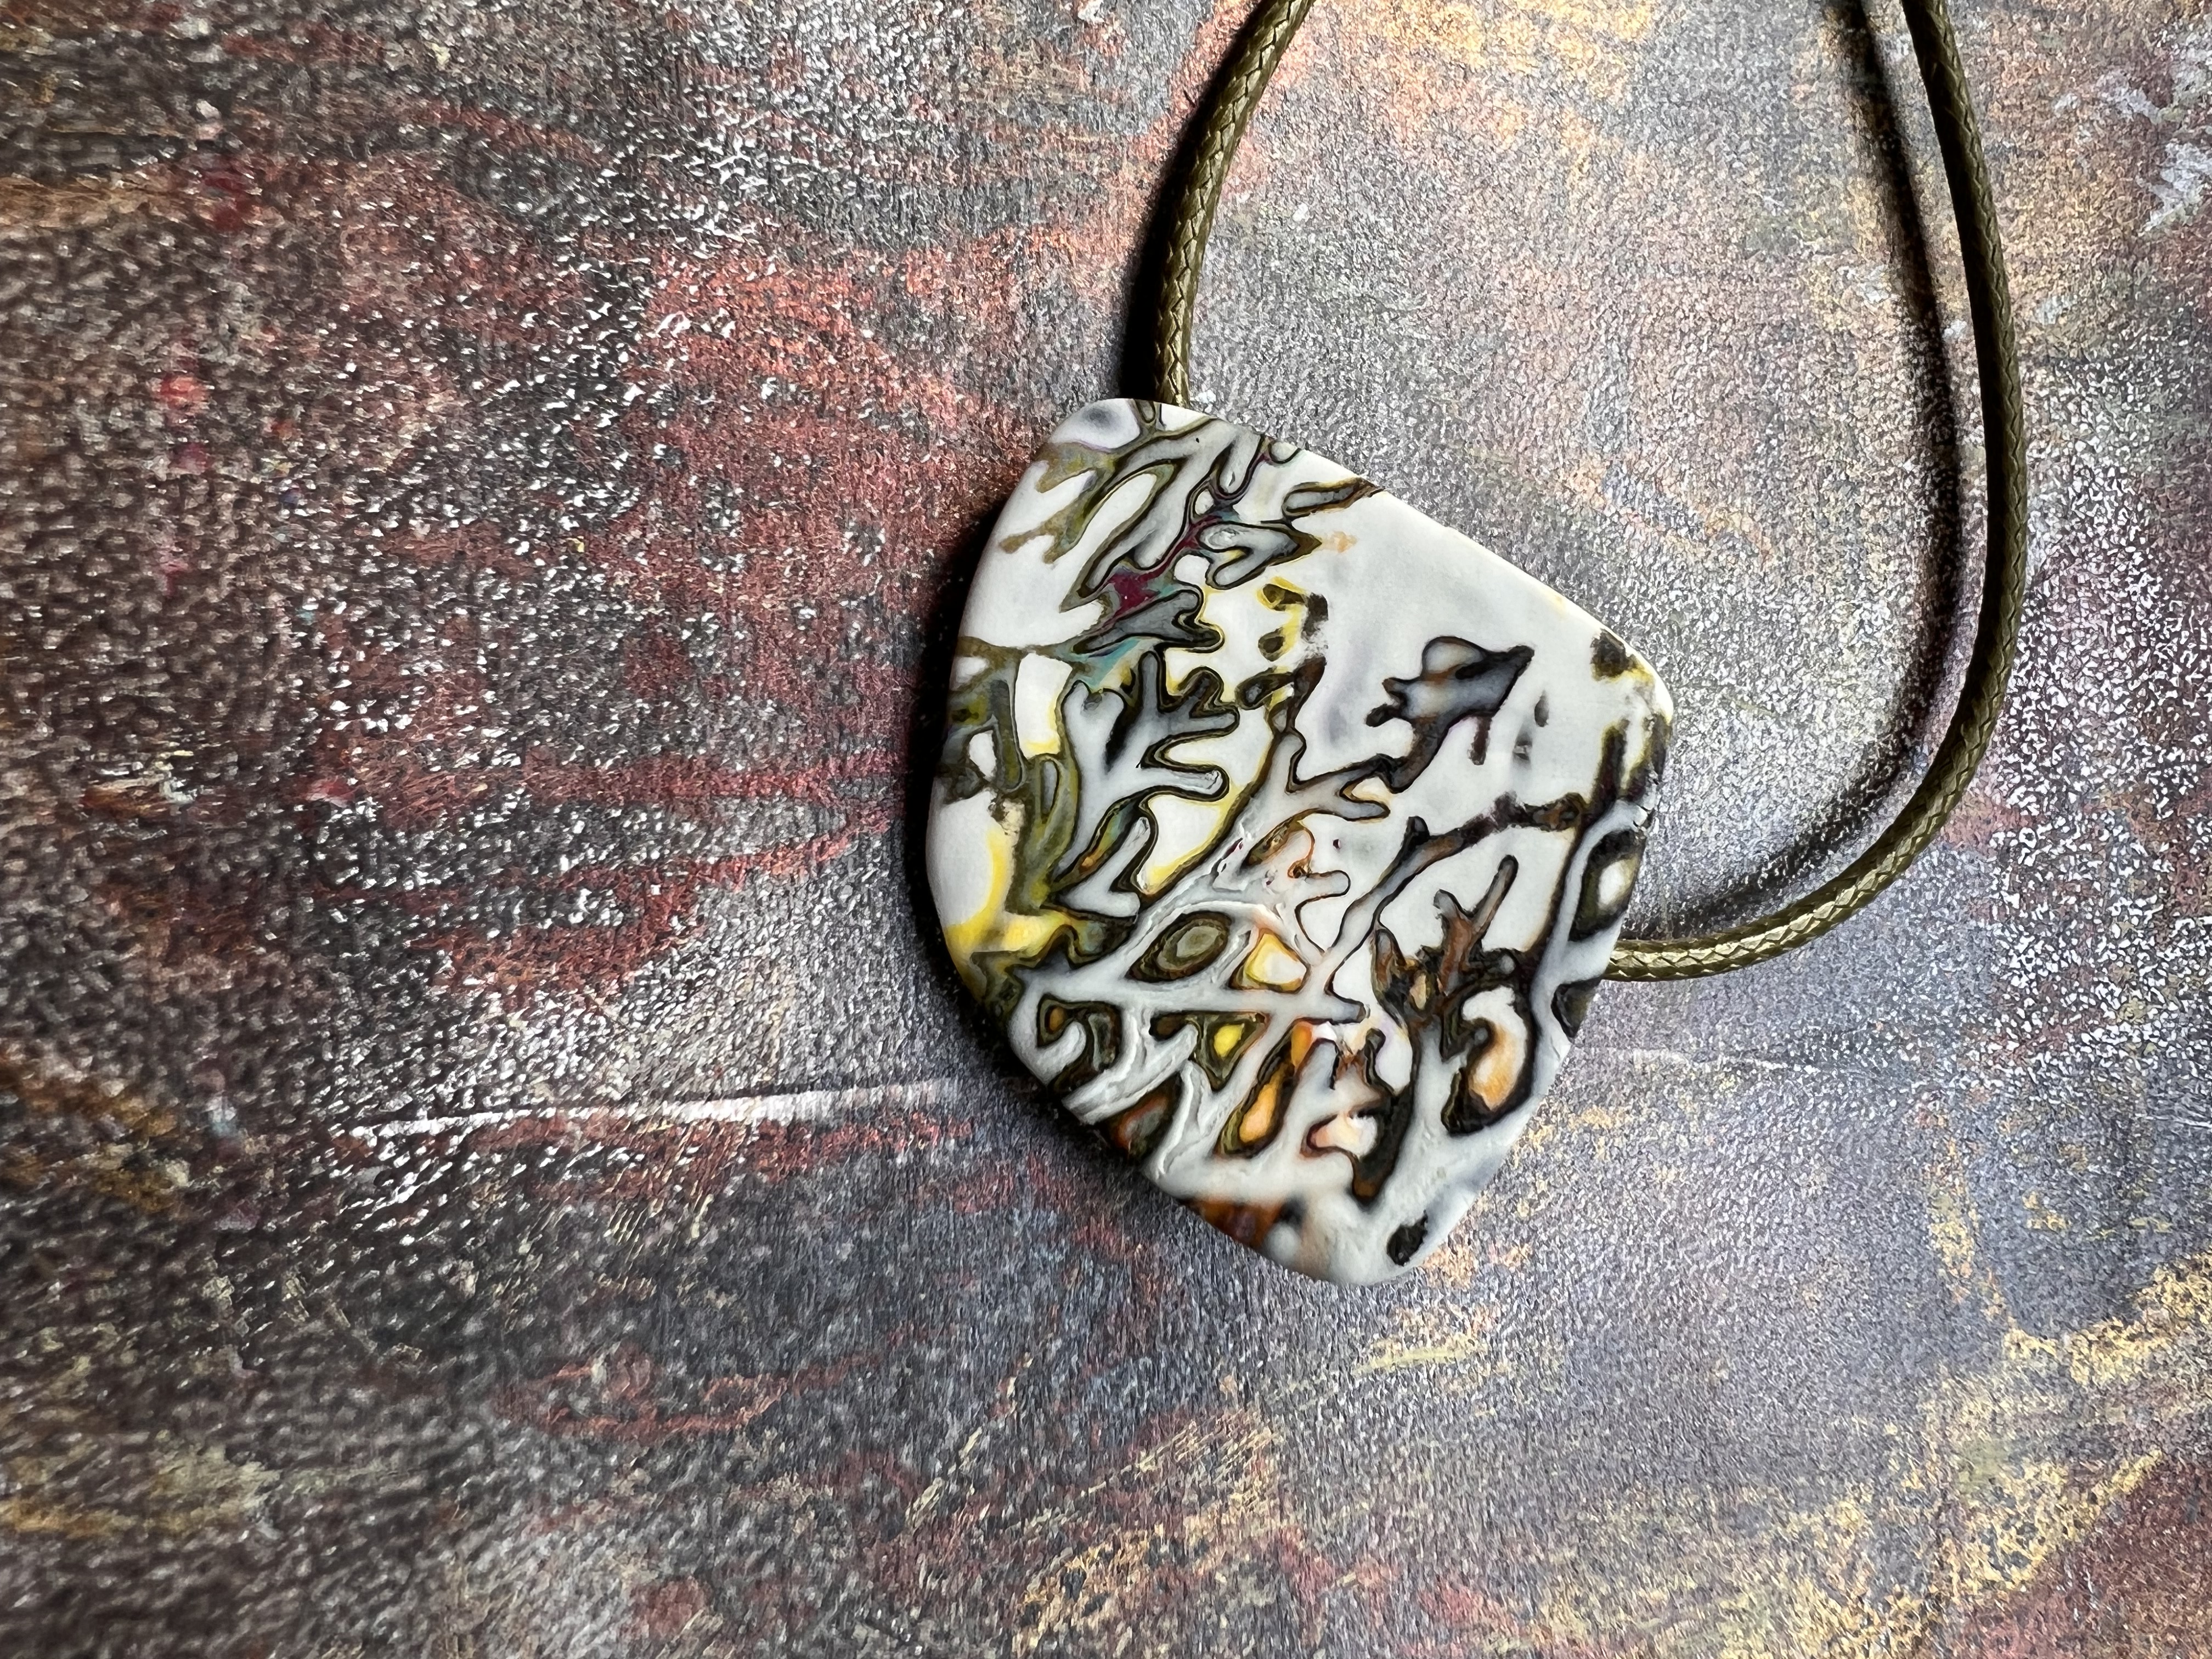
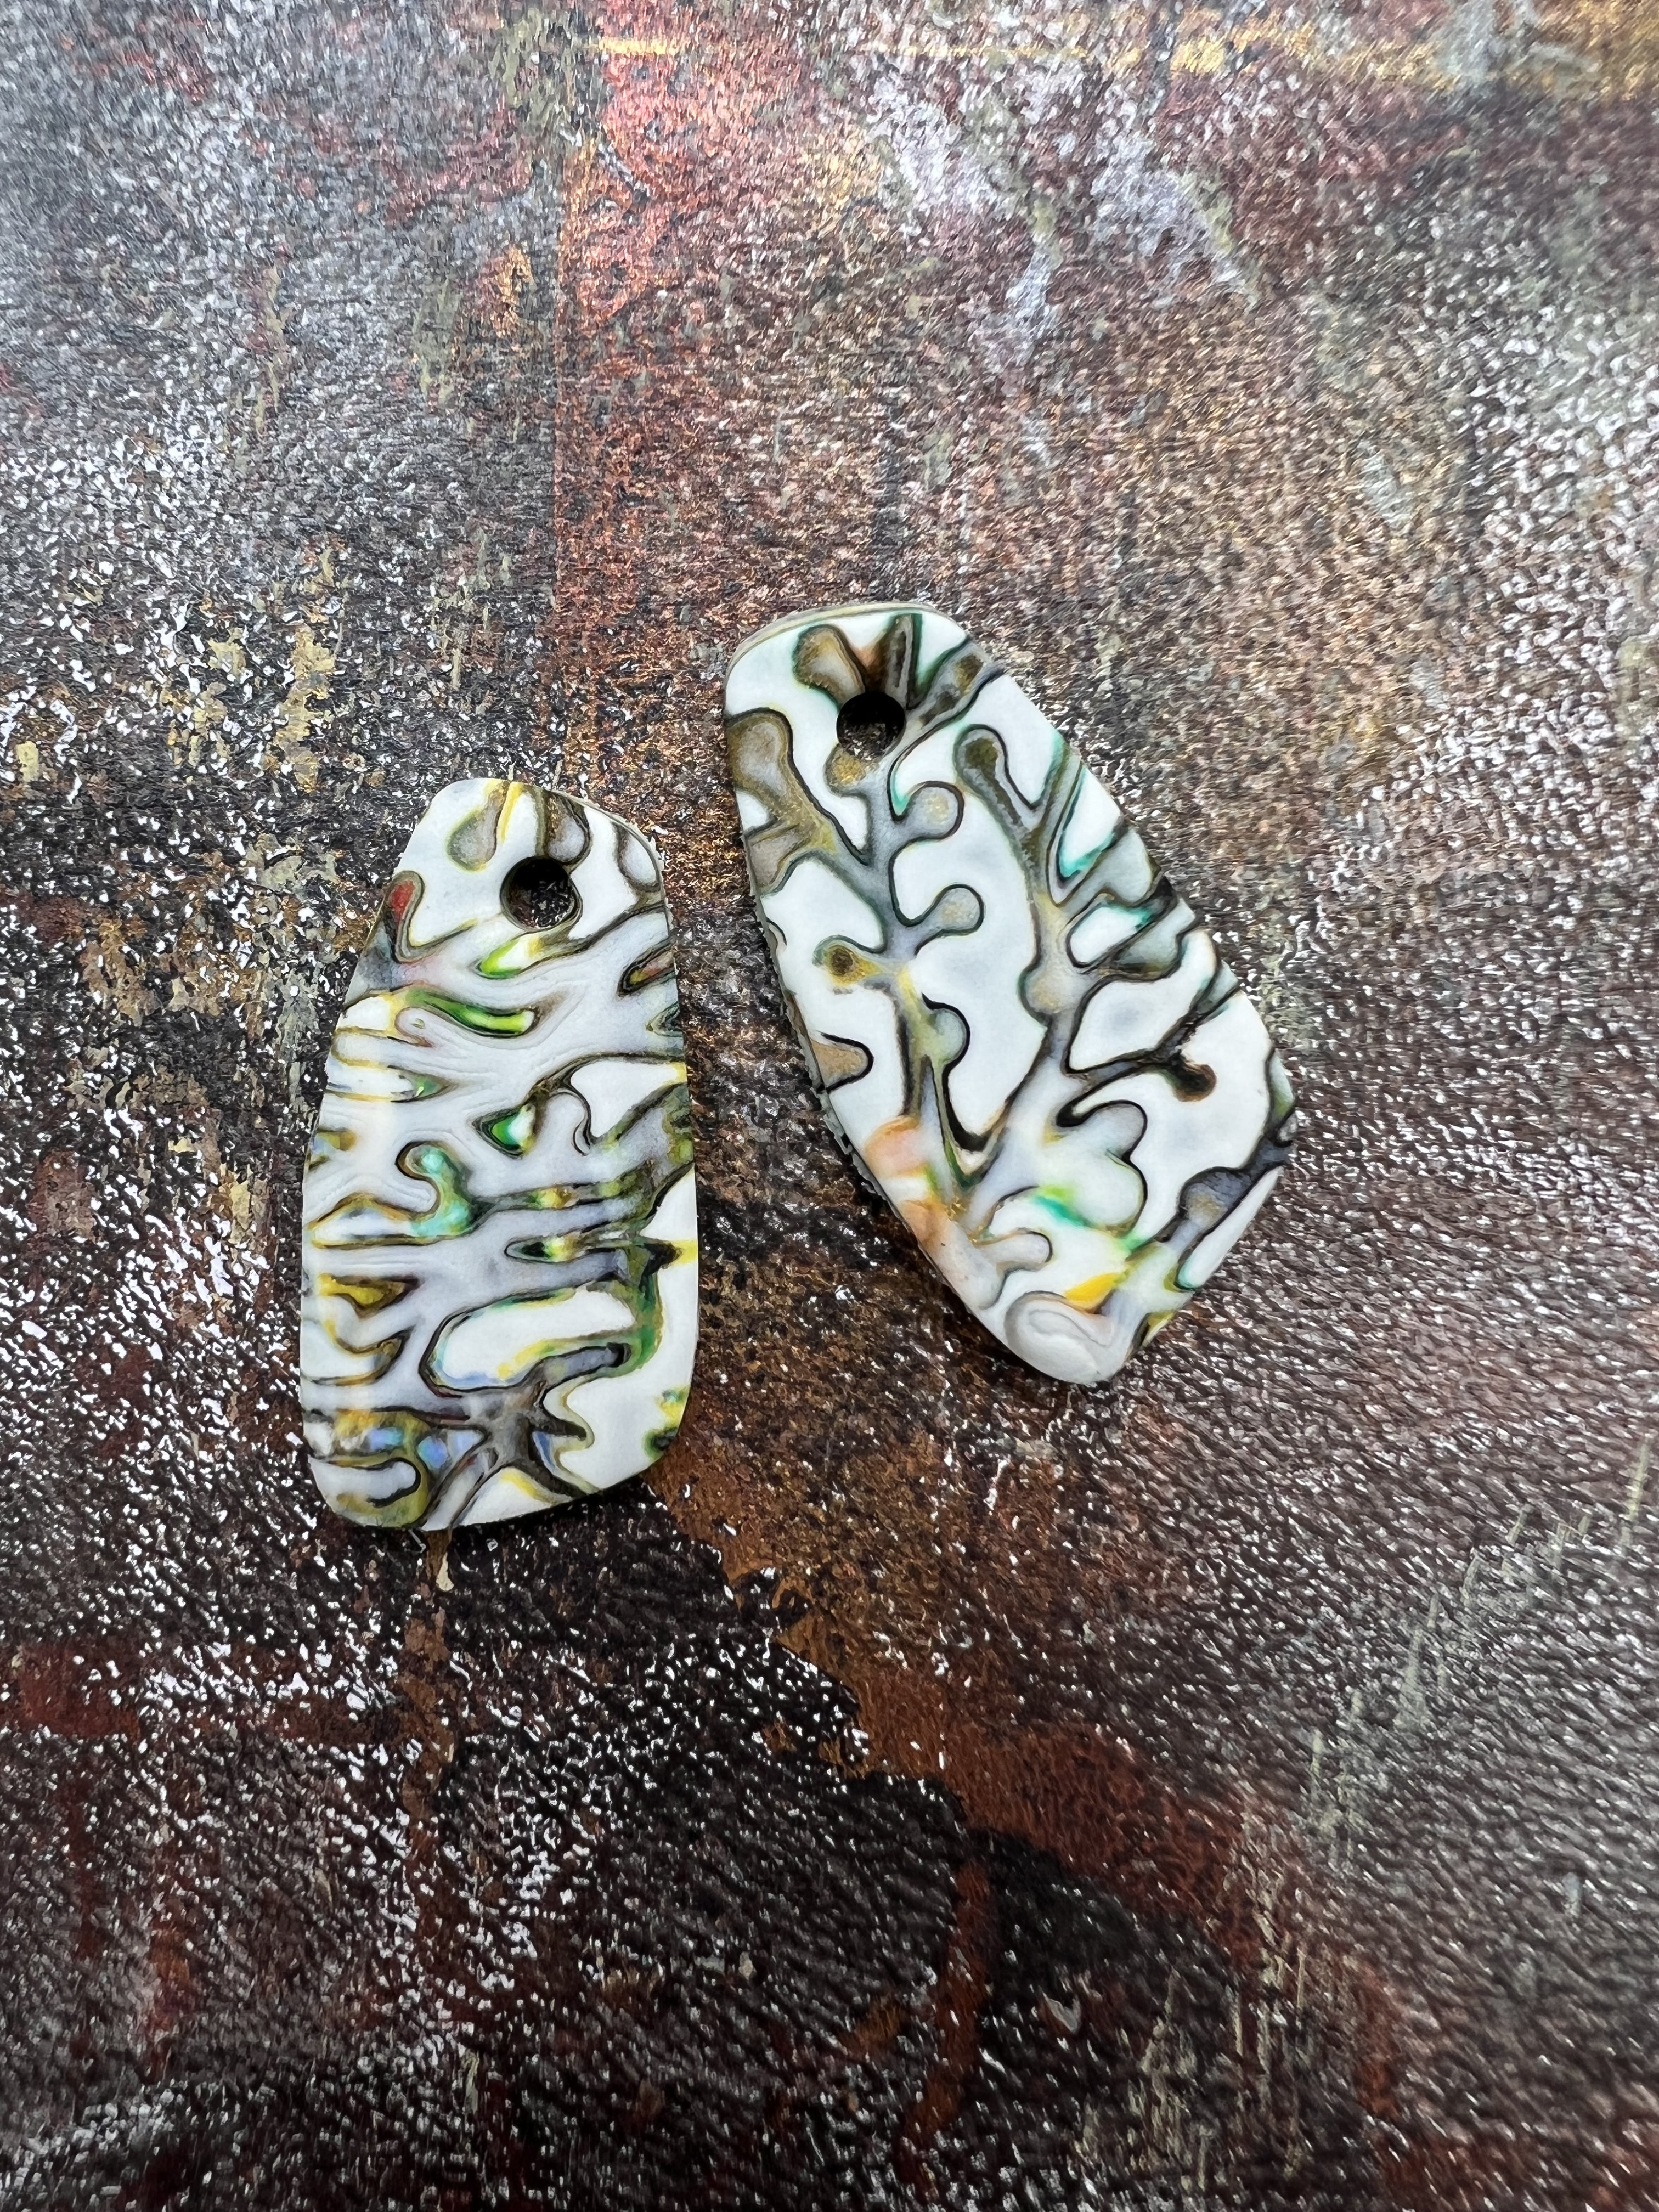
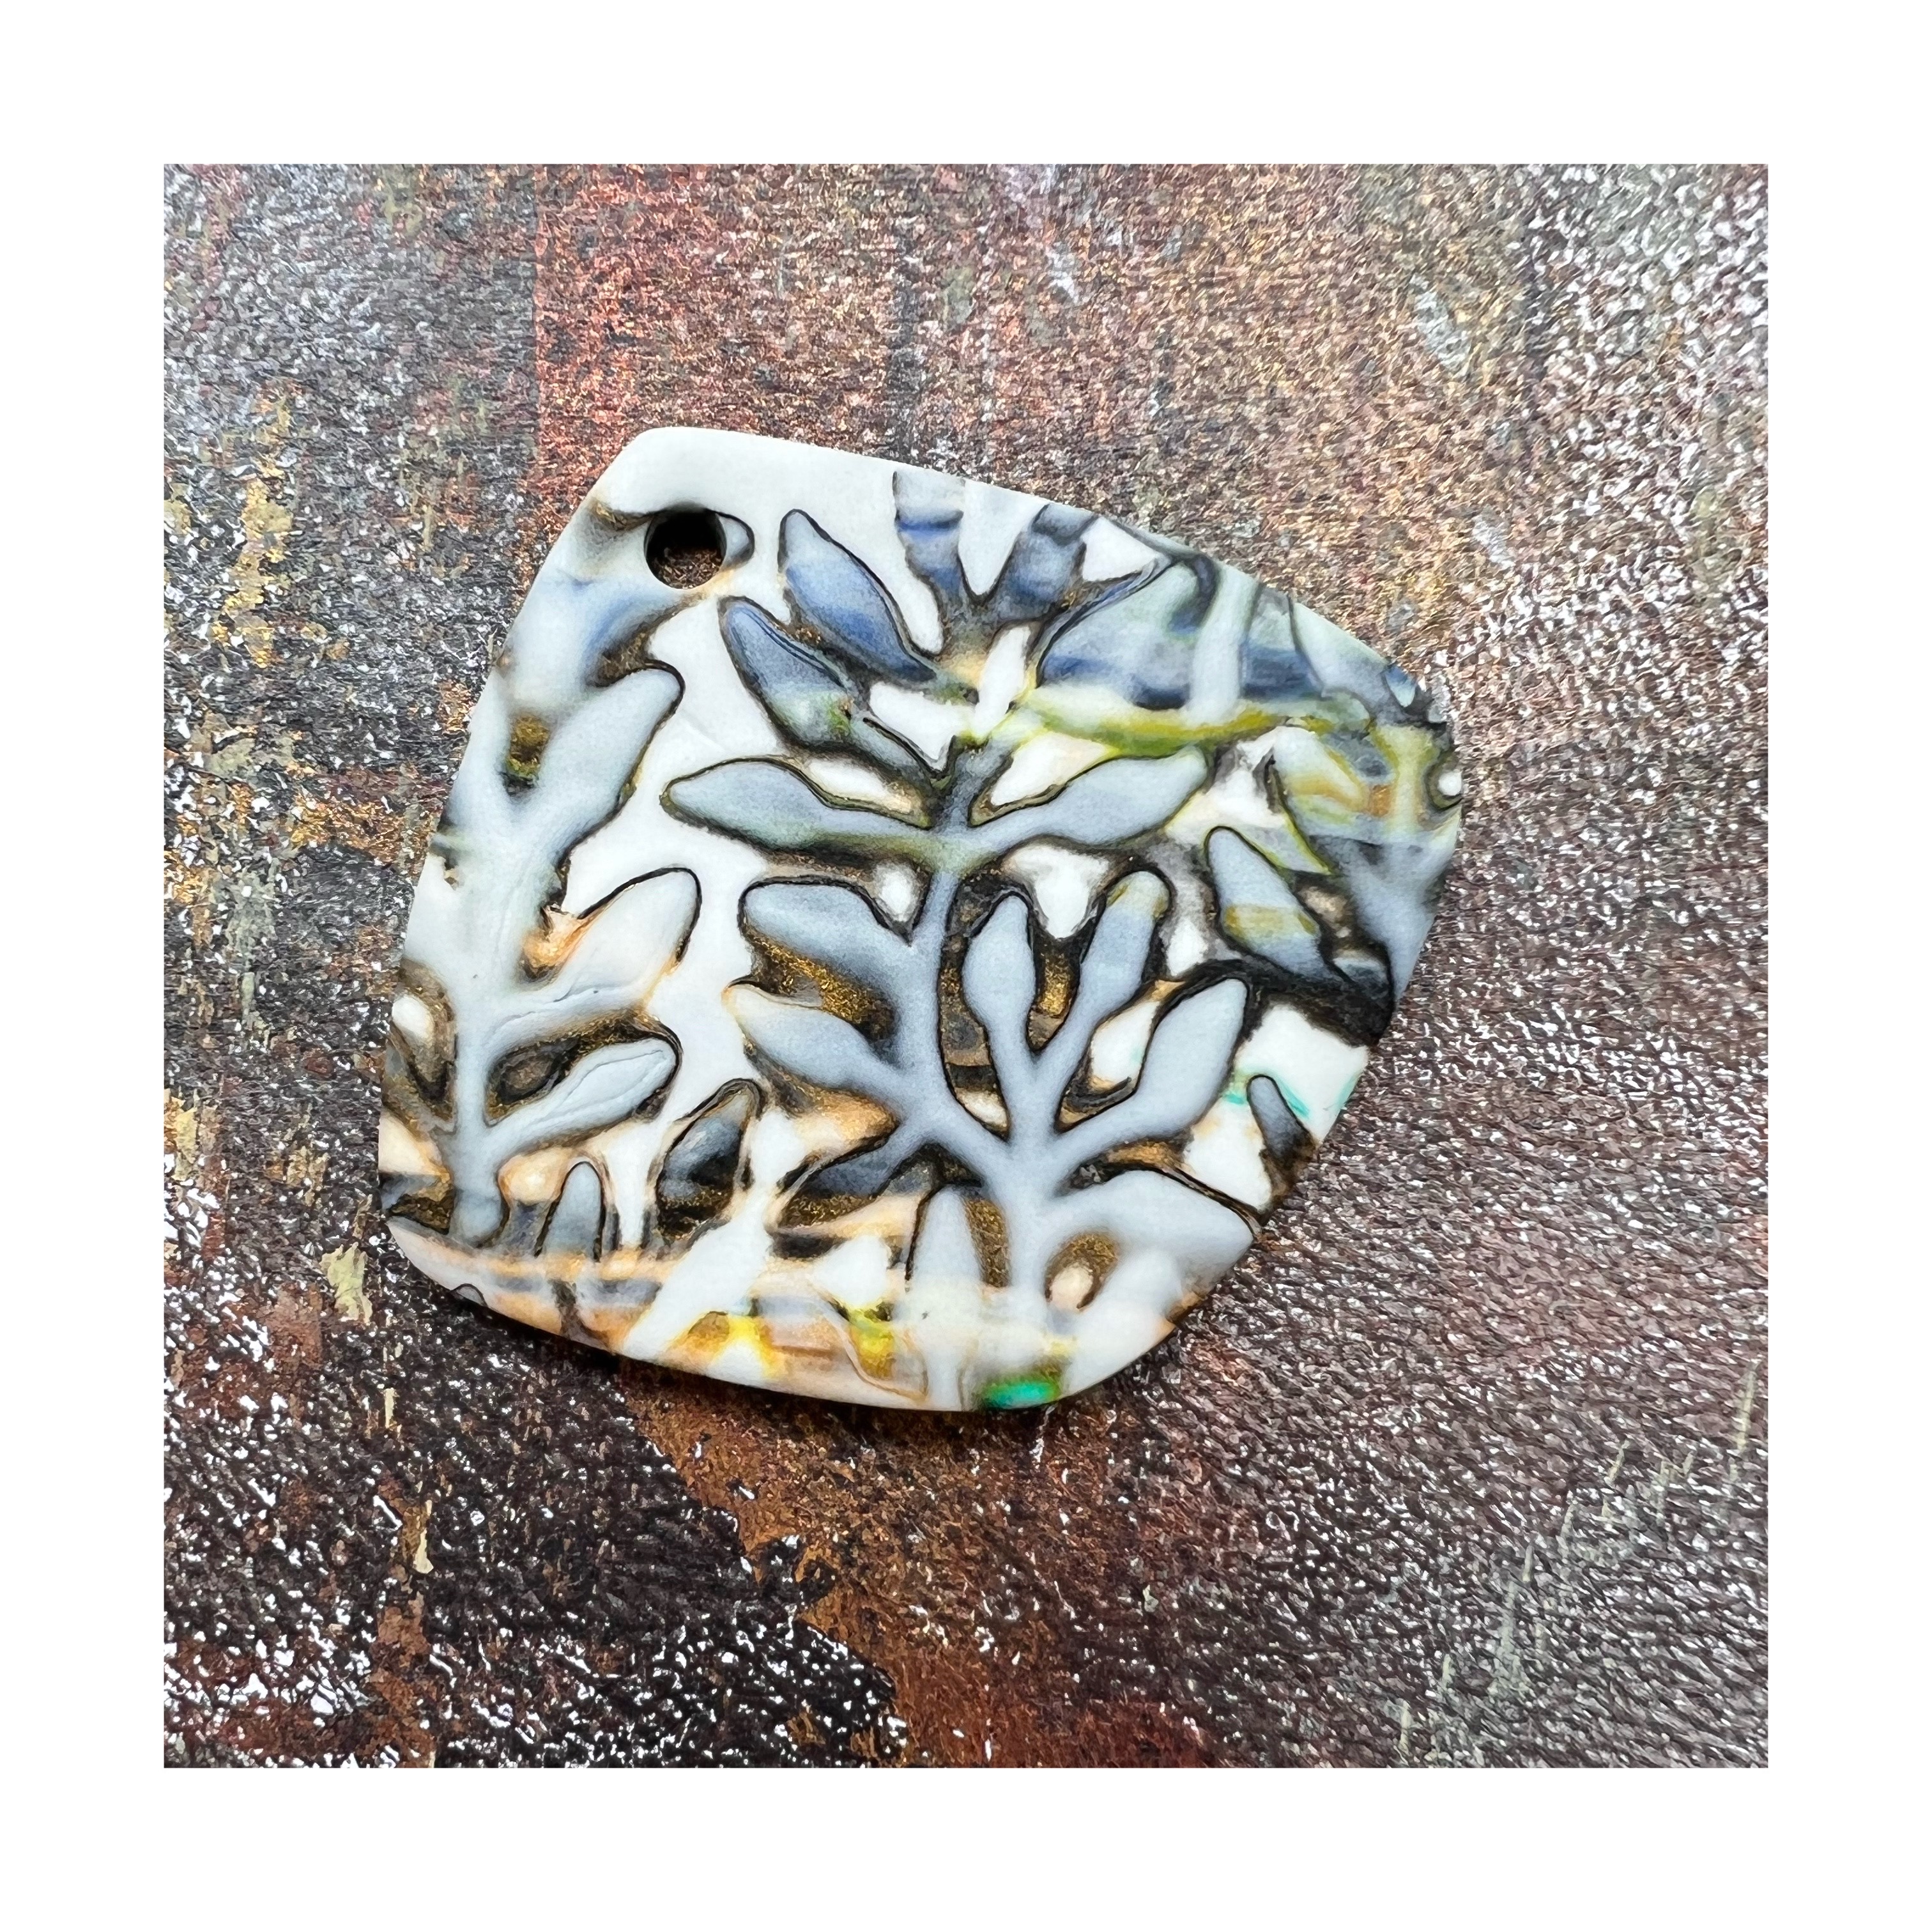
I know this is a really simple technique but by using different thicknesses, different shavings you can create something unique.
J x

Lovely work, Jane.
👌
Thank you x
You’re welcome. Sorry, I left out my name.
Gregory Shyne Ruston, Louisiana 71270
😆
Your results are beautiful!
Thank you
I love Melanie Muirs work and your pieces and colours show off her texture sheets perfectly. I will certainly try this out. Love the subtle colours.
Thank you, I love these texture sheets too
I love Melanie Muir’s stamps too. I took her class on Craftcast.com for a mokume gane Muir Rock Cuff.
I’ve been looking at taking that class 😊
All classes on Craftcast.com are wonderful. I have taken a lot on various subjects. This was my favorite.
That’s good to know, thank you!
If you want to get a free preview, you can create a free account and watch I Love Tools #5. Melanie’s demo starts at 21:08. She demonstrates her templates on scrap mokume gane and how she burnishes the scraps to flatten and adds more clay and uses her templates to create a framed piece.
Ooh that’s great thank you so much I’ll have a look
I love what you are making and it was your work that made me order about 6 of Melanie’s texture stamps. Can’t wait until they come. I am just getting started and haven’t made one thing. Still gathering supplies.
Oh you will love the texture stamps – I’ve only been doing this for a few months but give me a shout if I can help with anything
You would never know it by your work. What is nice about Craftcast is when the class is live, you can ask the artist questions. Thank you so much. I probably will have questions. Was trying to decide if I wanted Lucy Clay or Melanie textures. Your work helped me make the decision.
Look forward to seeing what you create x