

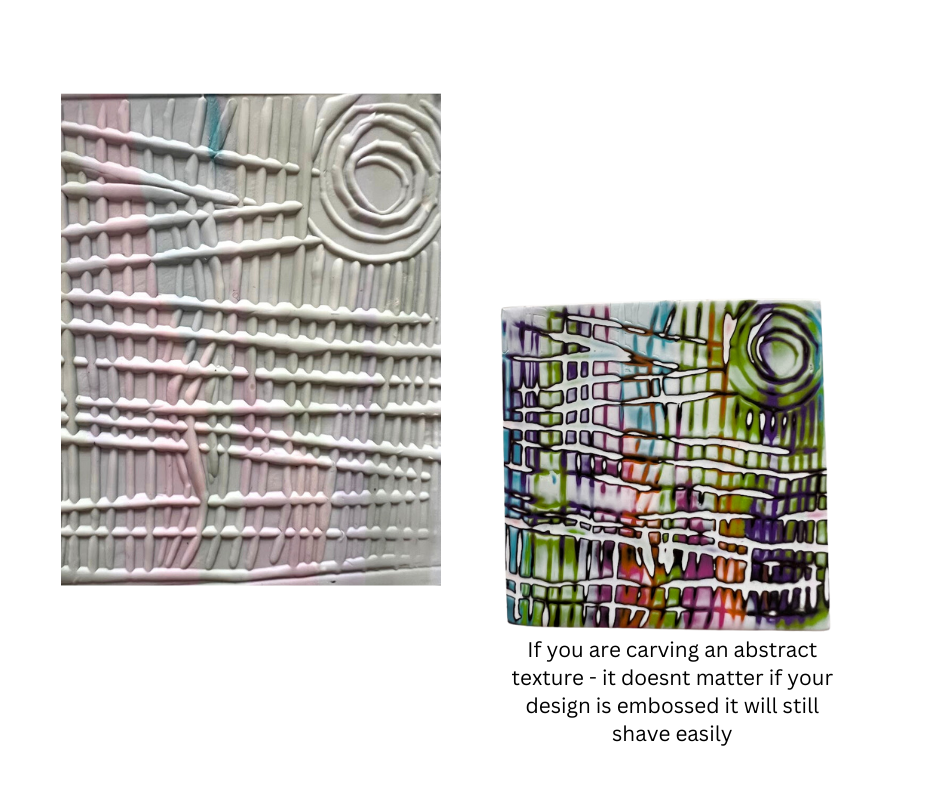
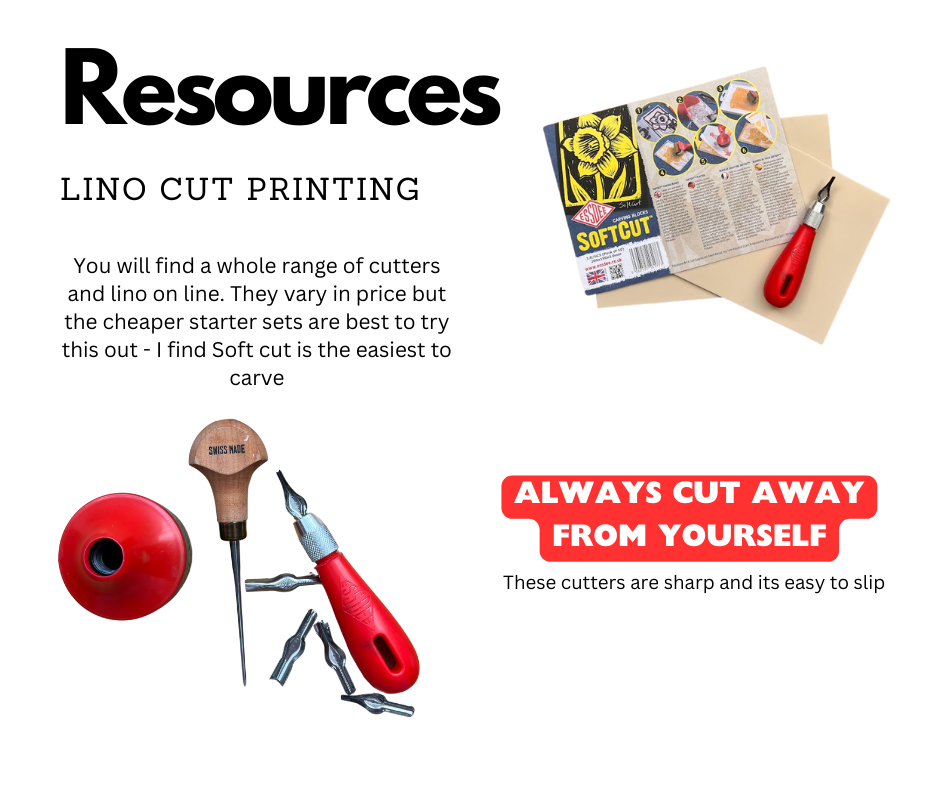
I’ve been working with Polymer Clay for a while now. Having done a Lino Printing course a few years ago I decided to experiment and see if I could create my own texture mats. I still had cutters and a range of lino so set about carving some abstract patterns. I love the Mokume Gane technique (lots of posts on here about how to do that) and was pleased with how my first abstract attempts looked.
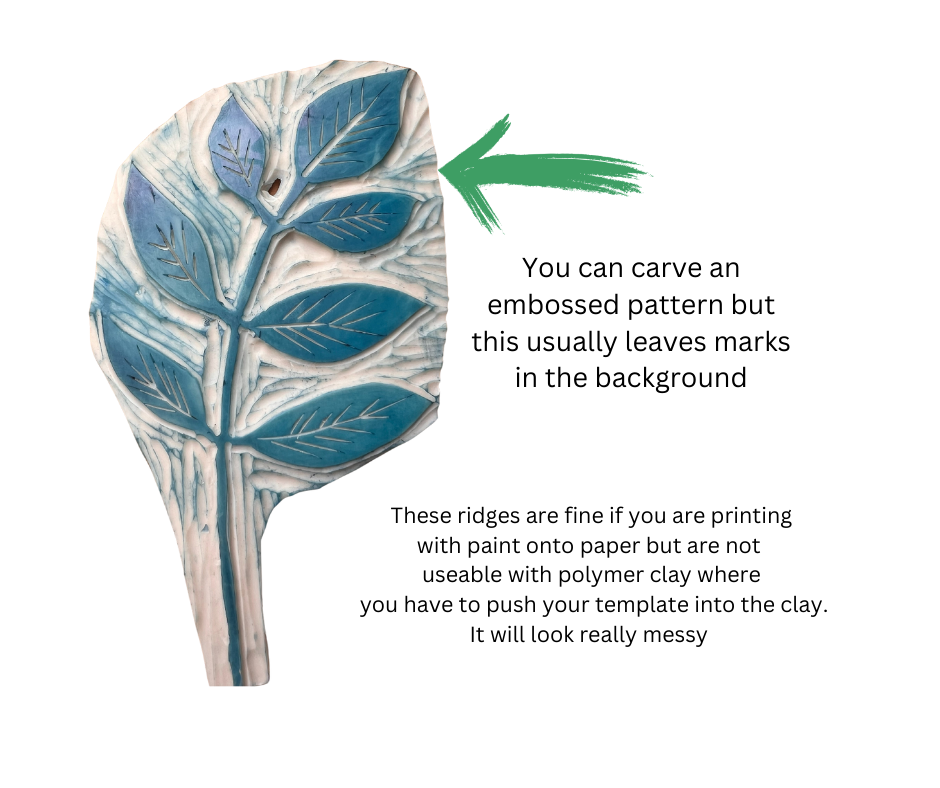
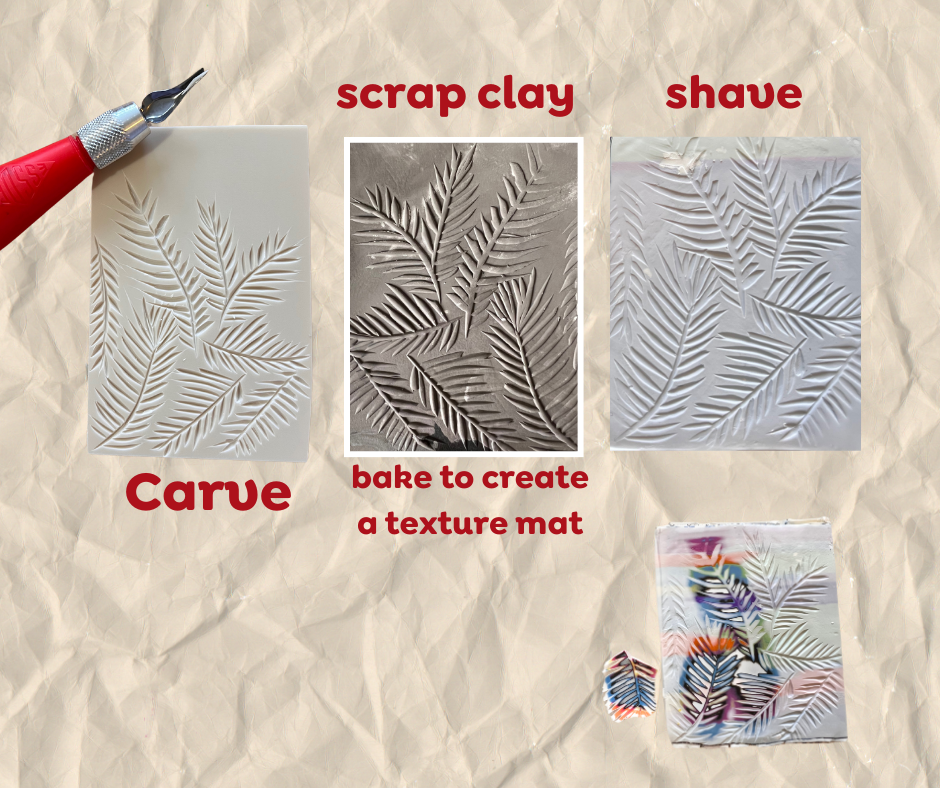
I then decided to try some simple leaf patterns and this is where I ran into trouble. It’s easier to carve into lino and end up with an debossed pattern – so you have the pattern carved into the lino rather than carving the lino away from the pattern and making an embossed pattern. However, once you press your lino into the prepared clay your pattern then sits on top of the clay and its quite tricky to carve it away.
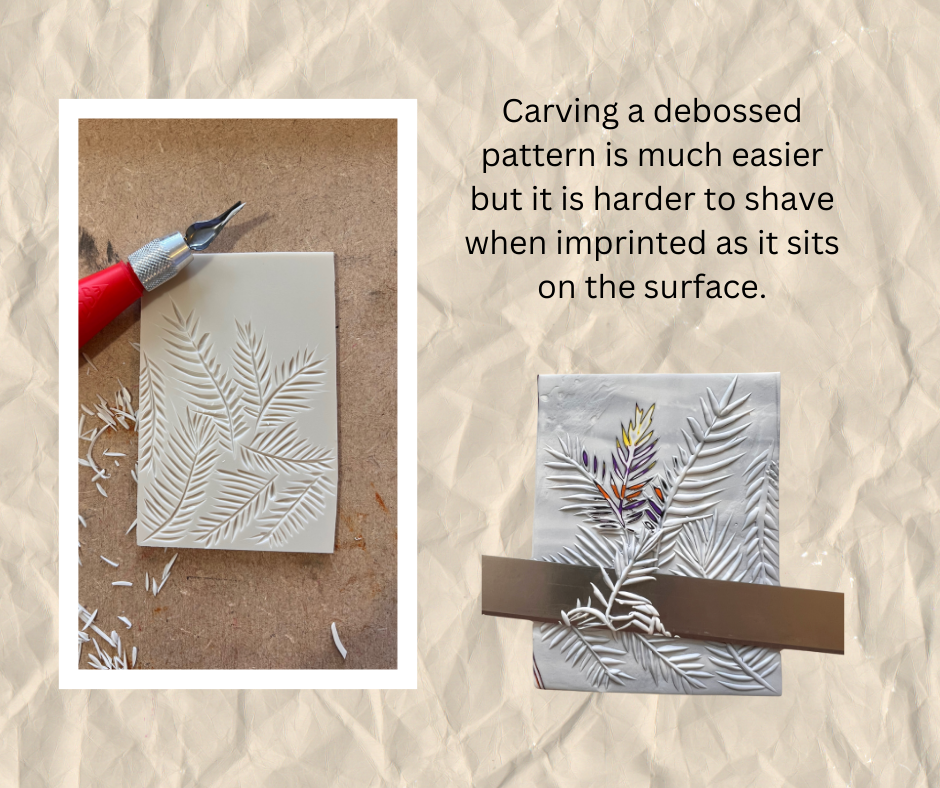
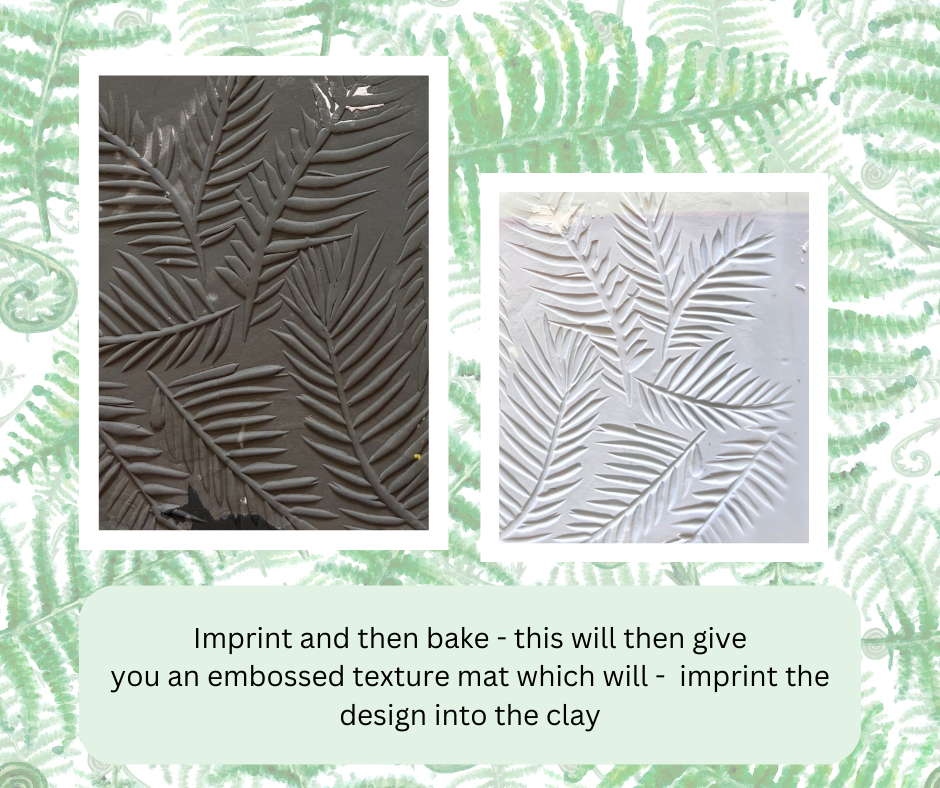
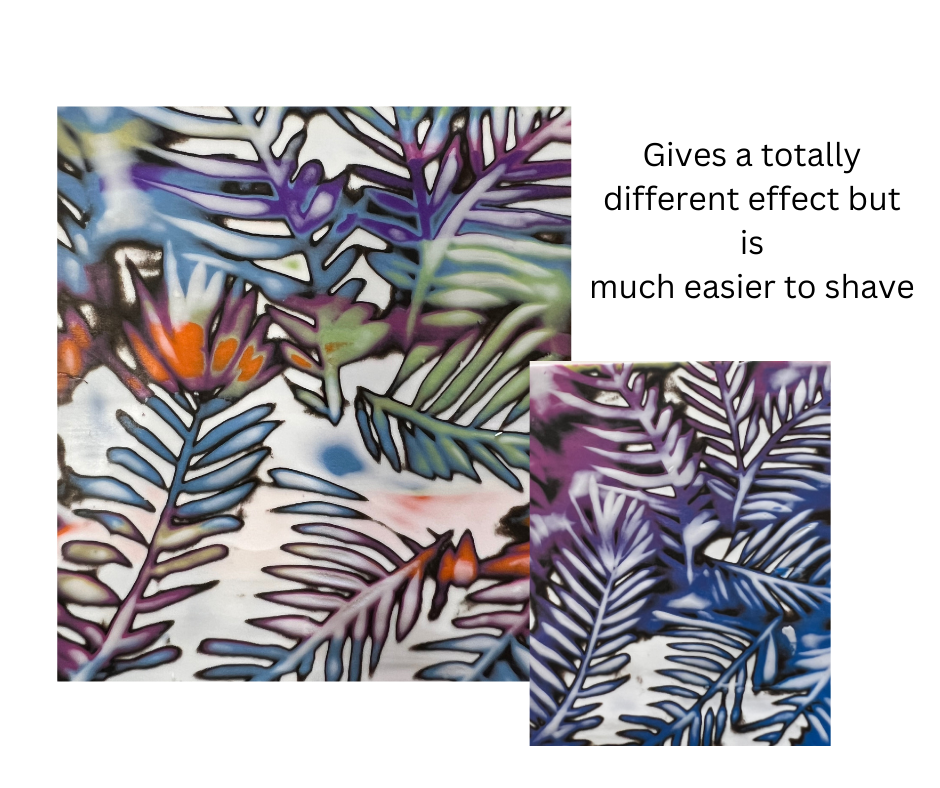
I had intended to create a lino cut where I’d remove most of the background but then had a lightbulb moment and realise all I had to do to ‘invert it’ was to use some scrap clay, imprint the pattern and then bake it so I had effectively created the texture mat wanted which when pressed into the clay meant that the pattern was pushed into the clay rather than sitting on the surface and is much easier to shave!

I hope this makes sense! Jane x

Jane, Thank you for the wonderful tutorial on printing on polymer clay! Love reading and using the tutorials on Mokume Game!
Thank you 😊
When you cut your pattern onto a carving tile, you can then use silicone putty to make a good reverse mold. I like the blue silicone putty from Raw Materials because it has a long open time and is the best value per ounce that I’ve found. I use it to mold everything, but be aware that silicone will bond with silicone and rubber. It reacts with uncured polymer, but is excellent to use with cured polymer. Diane
Thank you for the tip Diane